Zapier Integration
Connect IronWiFi to over 5,000 apps using Zapier. Automatically create WiFi users when employees are added to your HR system, log authentications to a spreadsheet, or send notifications when guests connect.
What is Zapier?
Zapier is an automation platform that connects different web applications. With IronWiFi's Zapier integration, you can:
- Automatically create users when they're added elsewhere
- Send notifications when users authenticate
- Update CRM records with WiFi login data
- Sync user data between systems
Getting Started
Prerequisites
- Zapier account (free tier available)
- IronWiFi account with API access
- IronWiFi API key
Generating an API Key
- Log into IronWiFi Console
- Navigate to Account > API Keys
- Click Generate New Key
- Copy the key (it's only shown once)
- Store it securely
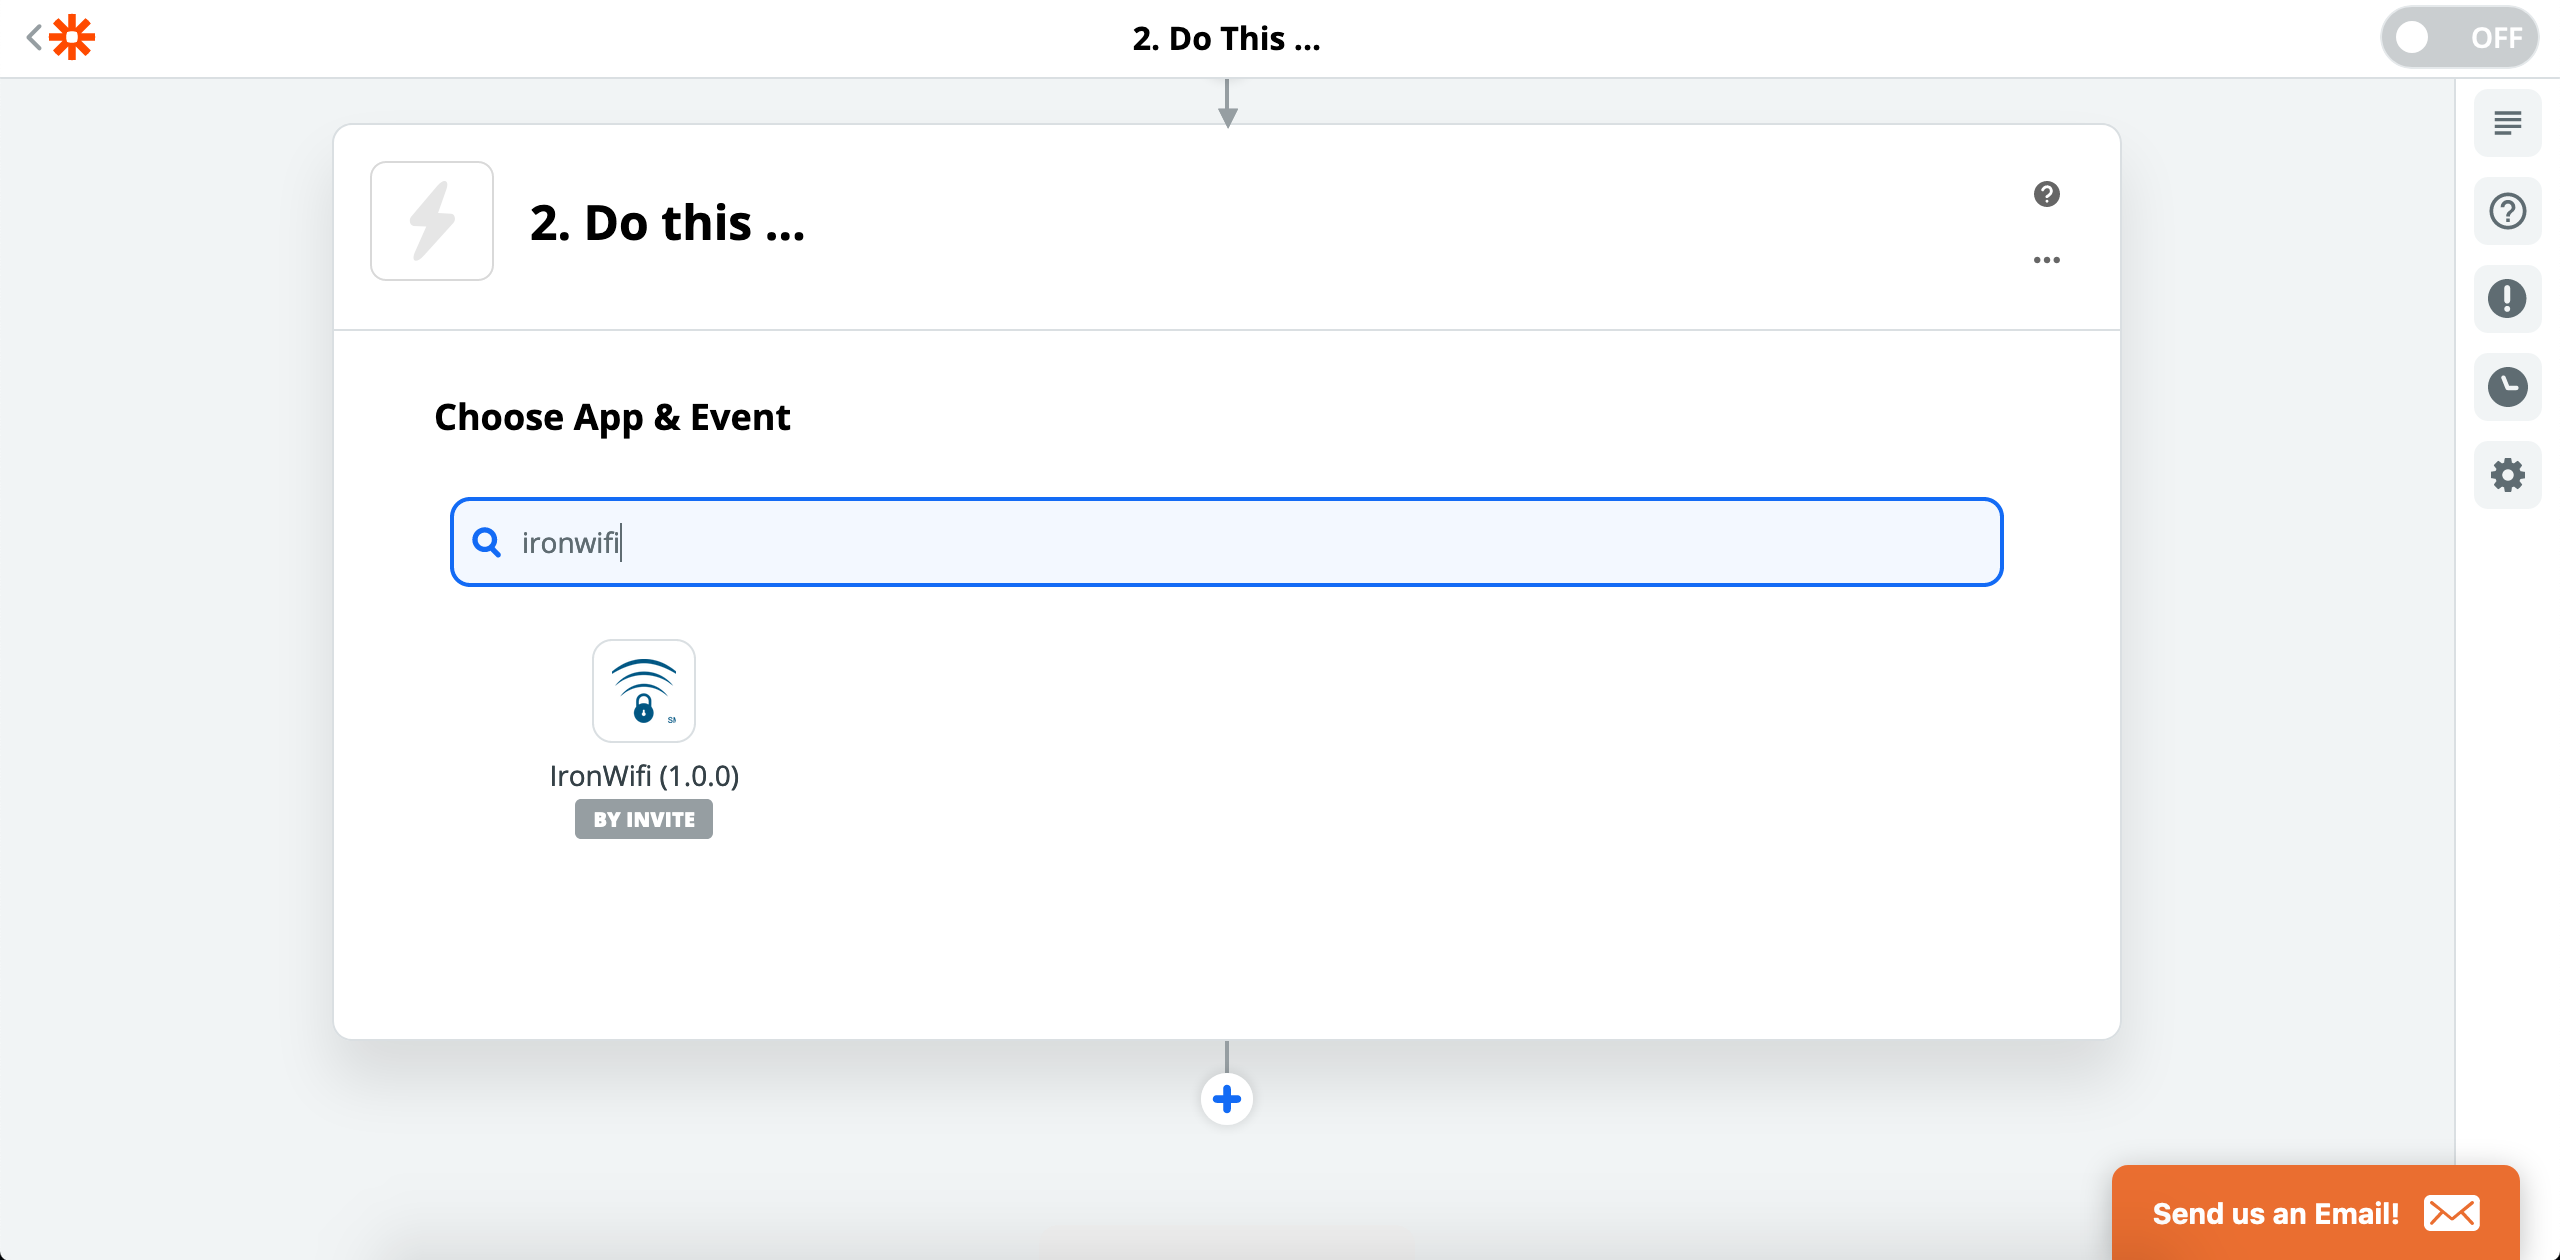
Connecting to Zapier
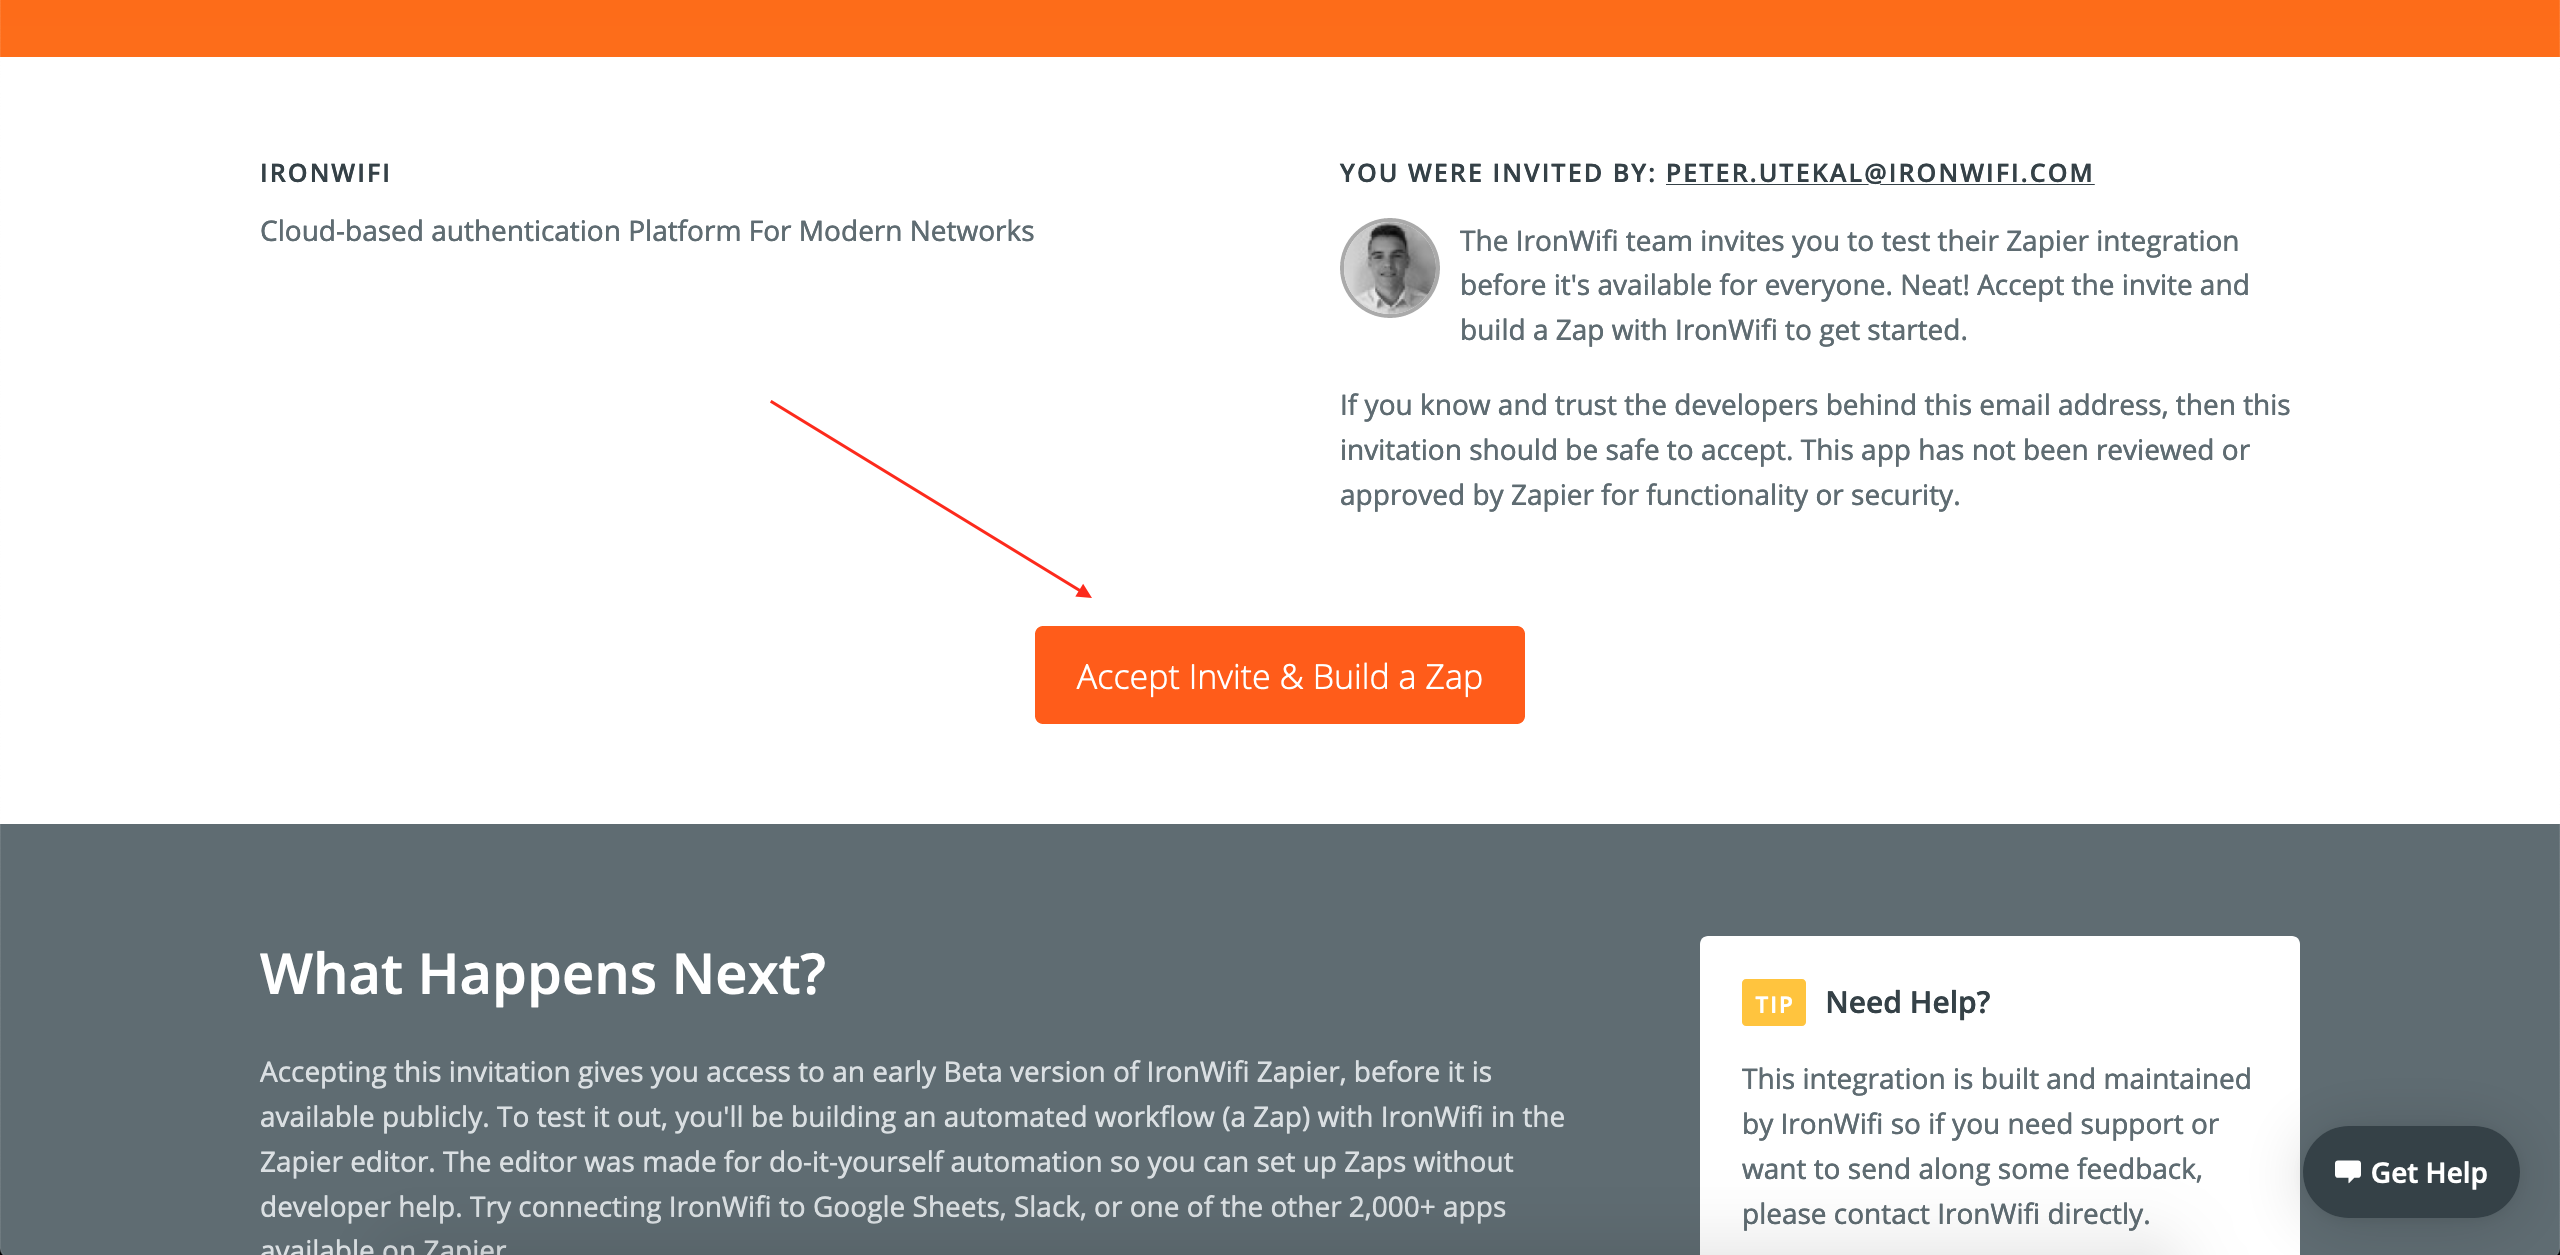
Step 1: Accept IronWiFi Invitation
- Open the IronWiFi Zapier invitation link
- Review the integration details
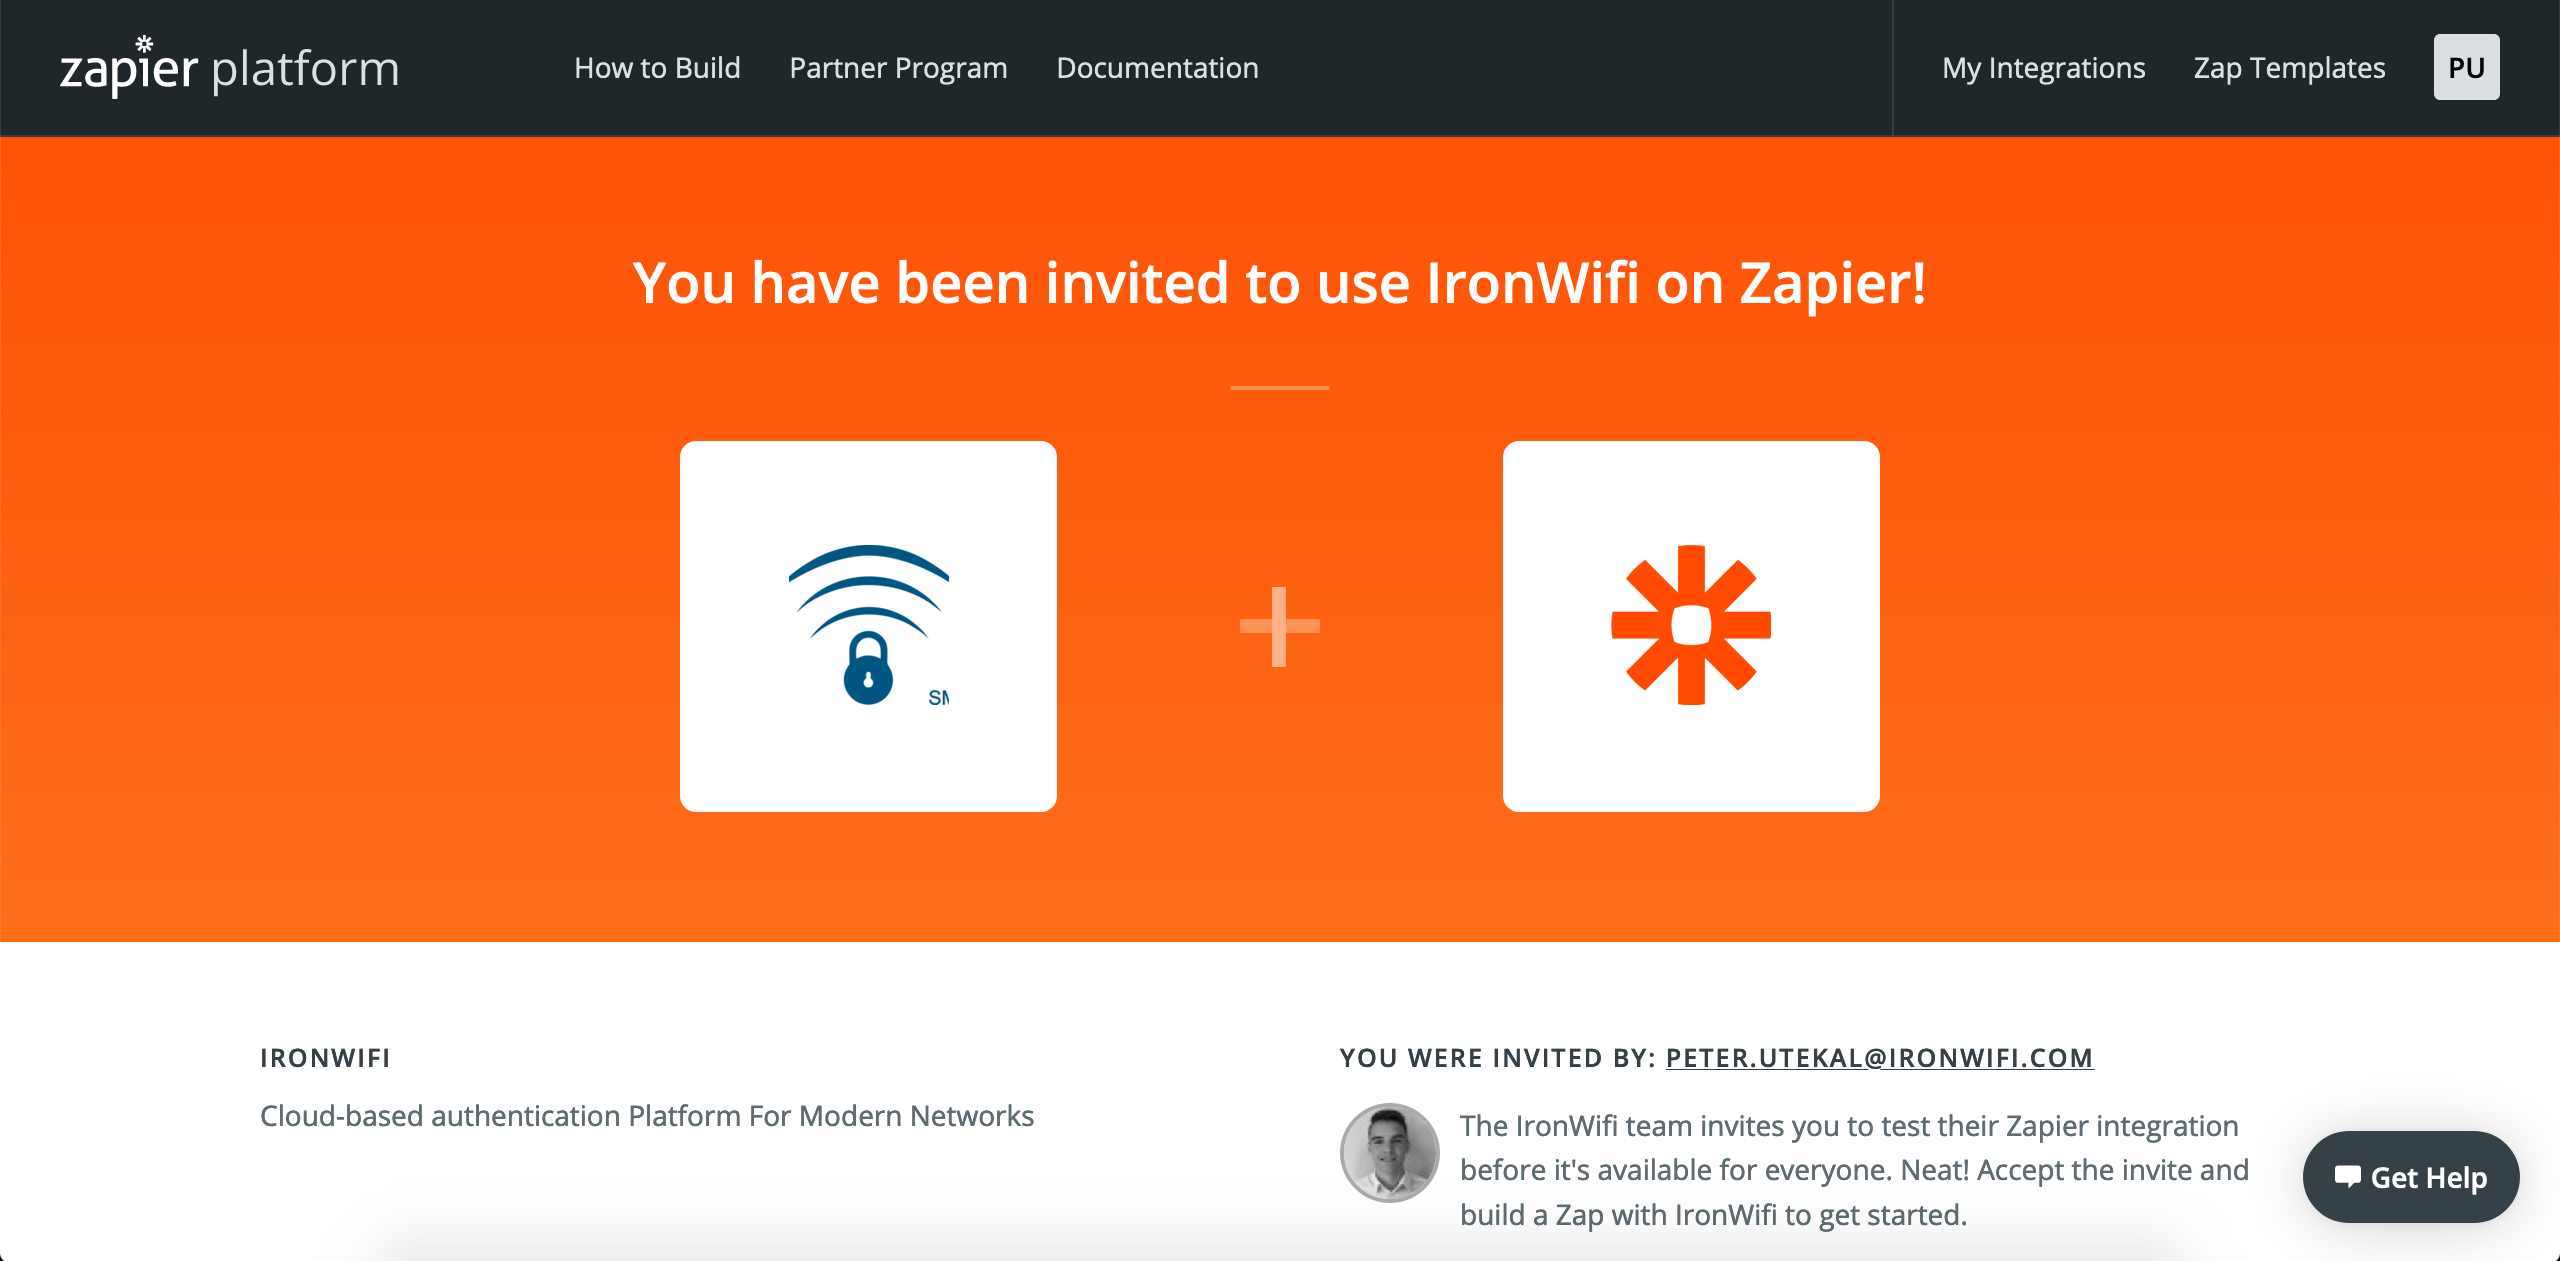
- Click Accept Invite & Build a Zap
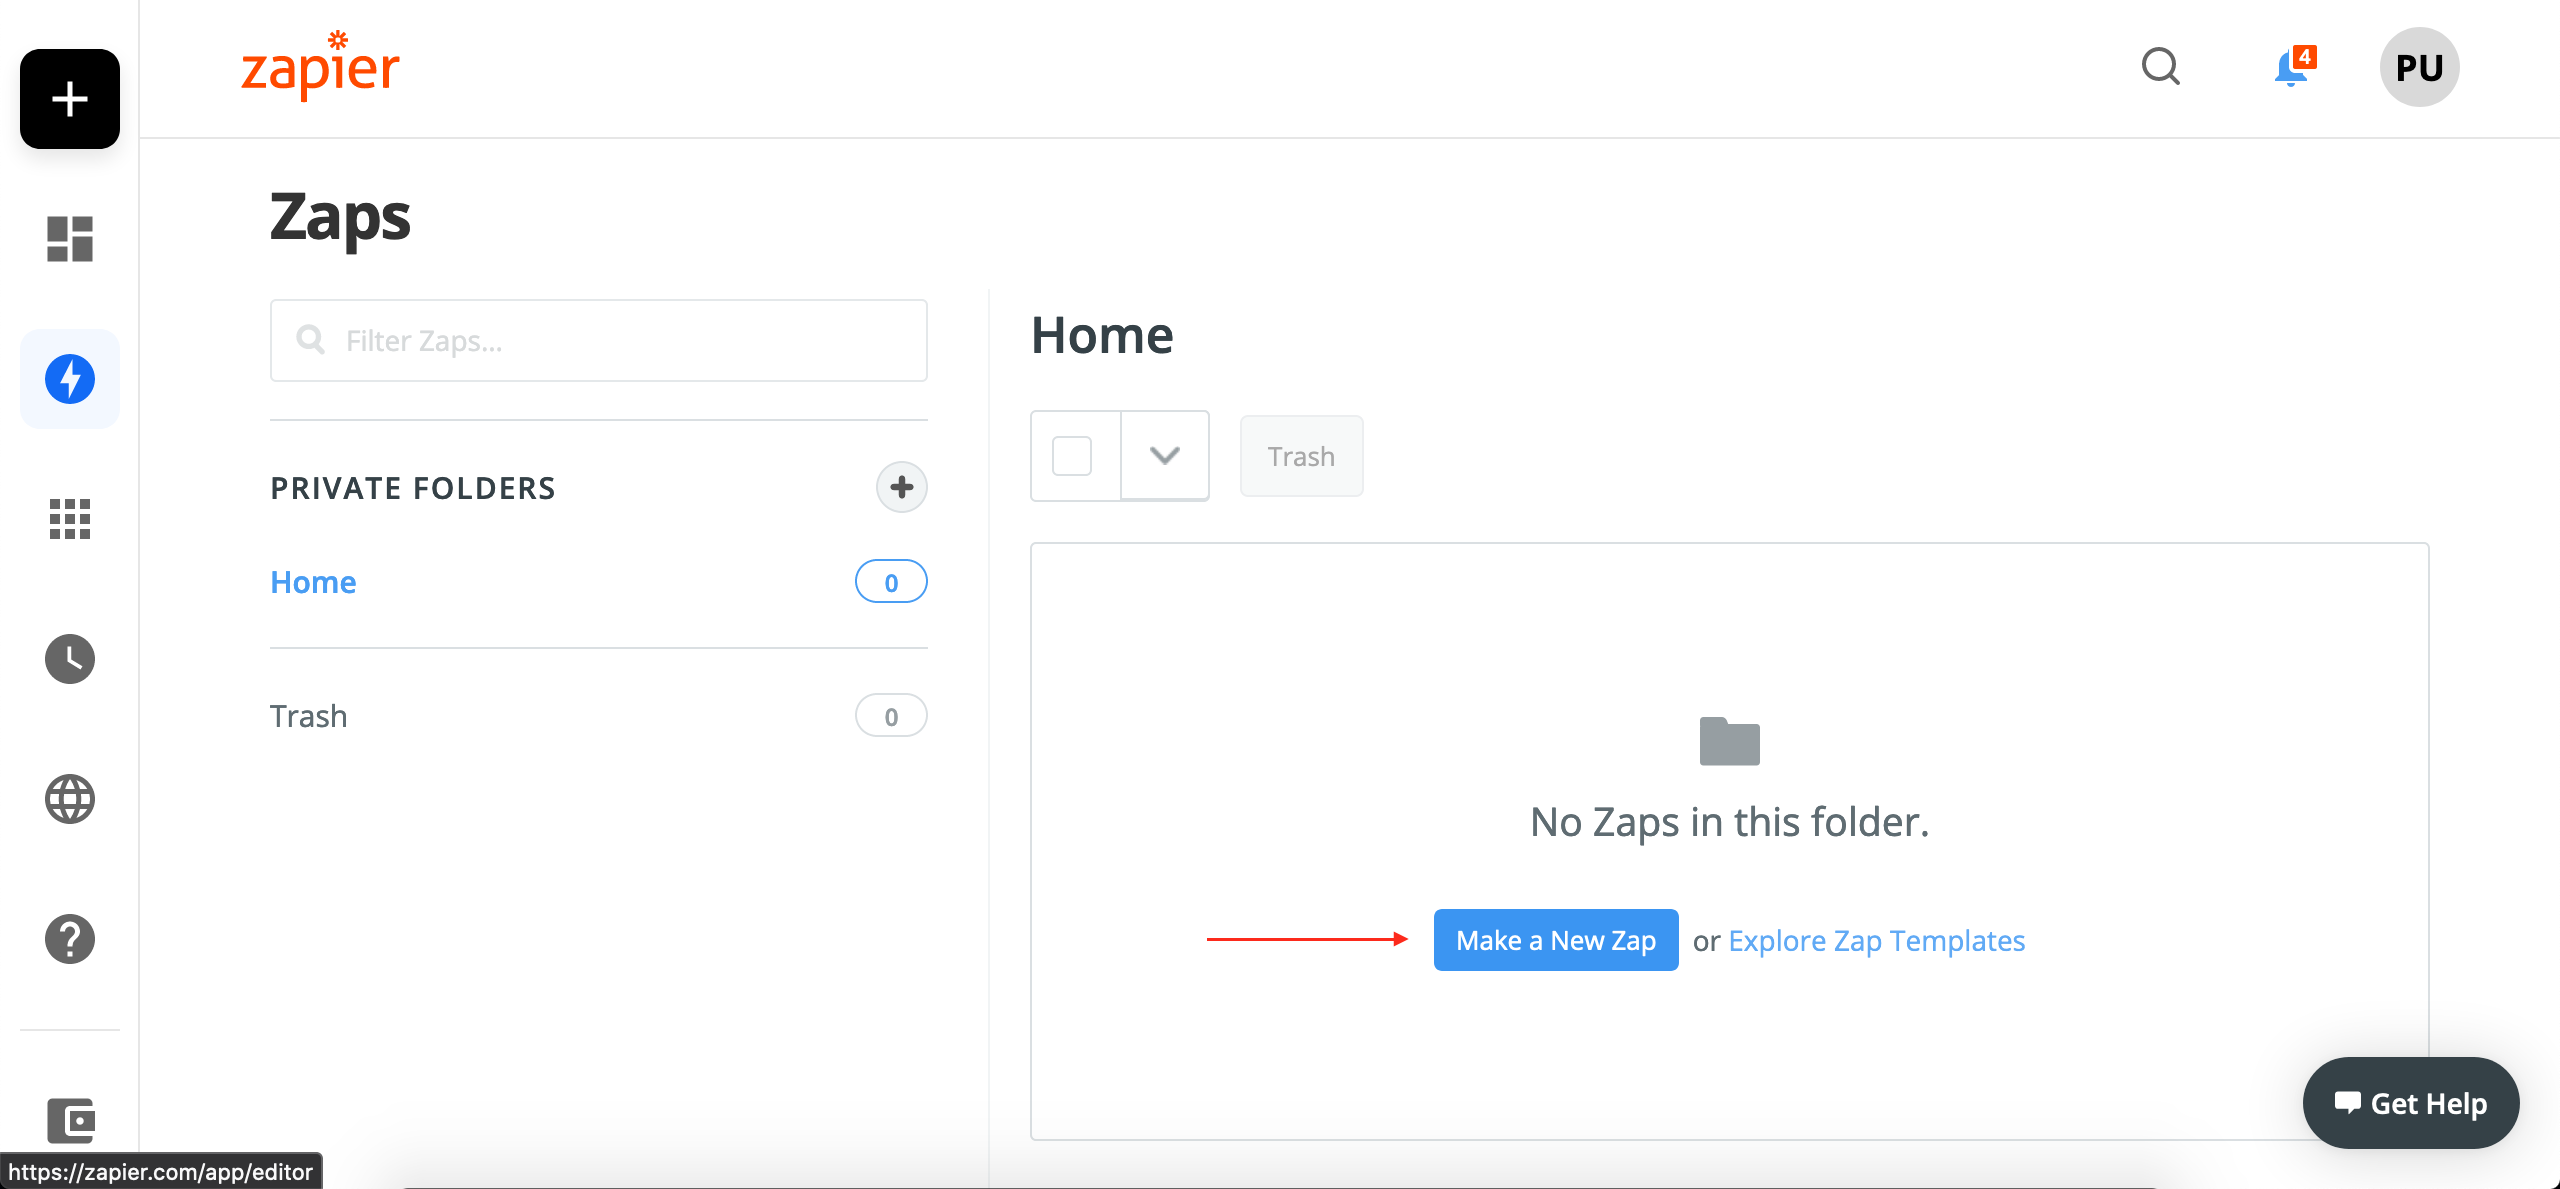
Step 2: Create a New Zap
- Log into Zapier
- Click Make a New Zap
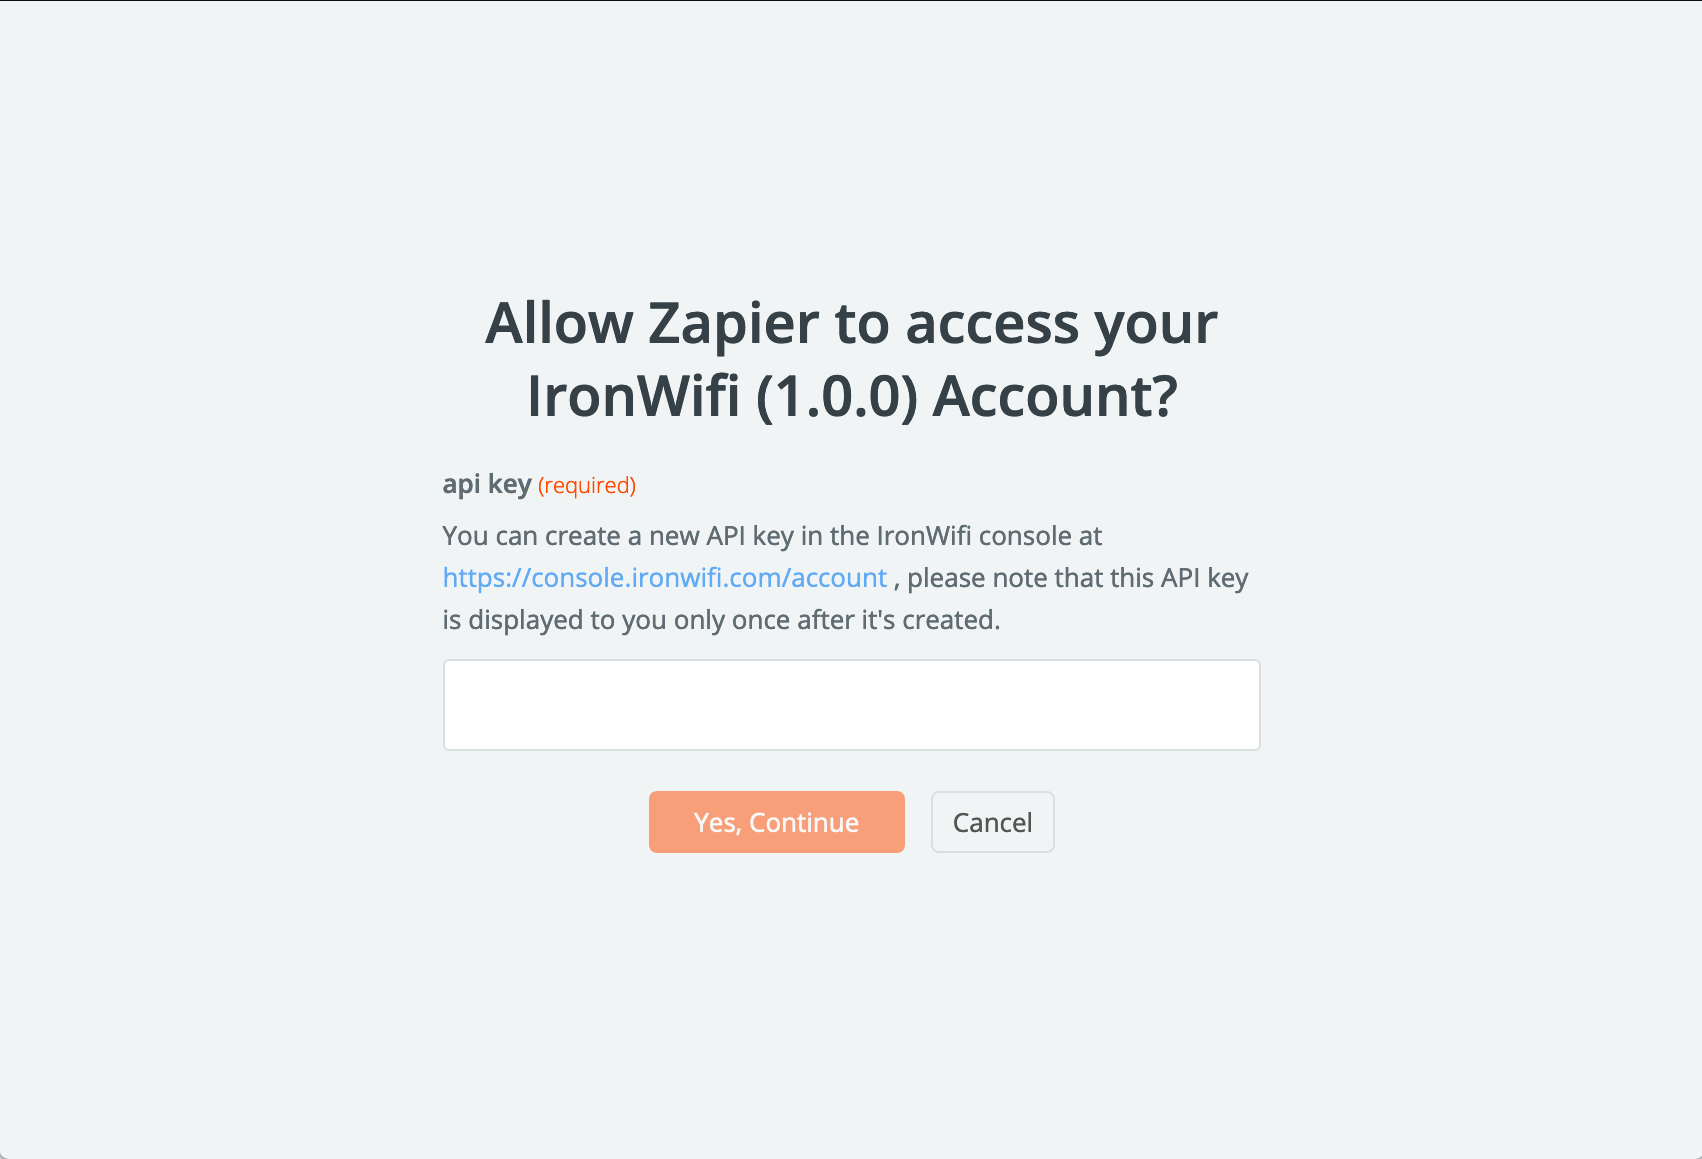
Step 3: Authenticate
- Select IronWiFi as trigger or action
- Click Connect Account
- Enter your API key
- Click Yes, Continue
Available Triggers
Triggers start your Zap when something happens in IronWiFi:
New User
Fires when a new user is created.
Available data:
- Username
- Full name
- Creation date
- Groups
New Authentication
Fires when a user authenticates.
Available data:
- Username
- Timestamp
- Access point MAC
- Client MAC
- Authentication result
User Updated
Fires when user details change.
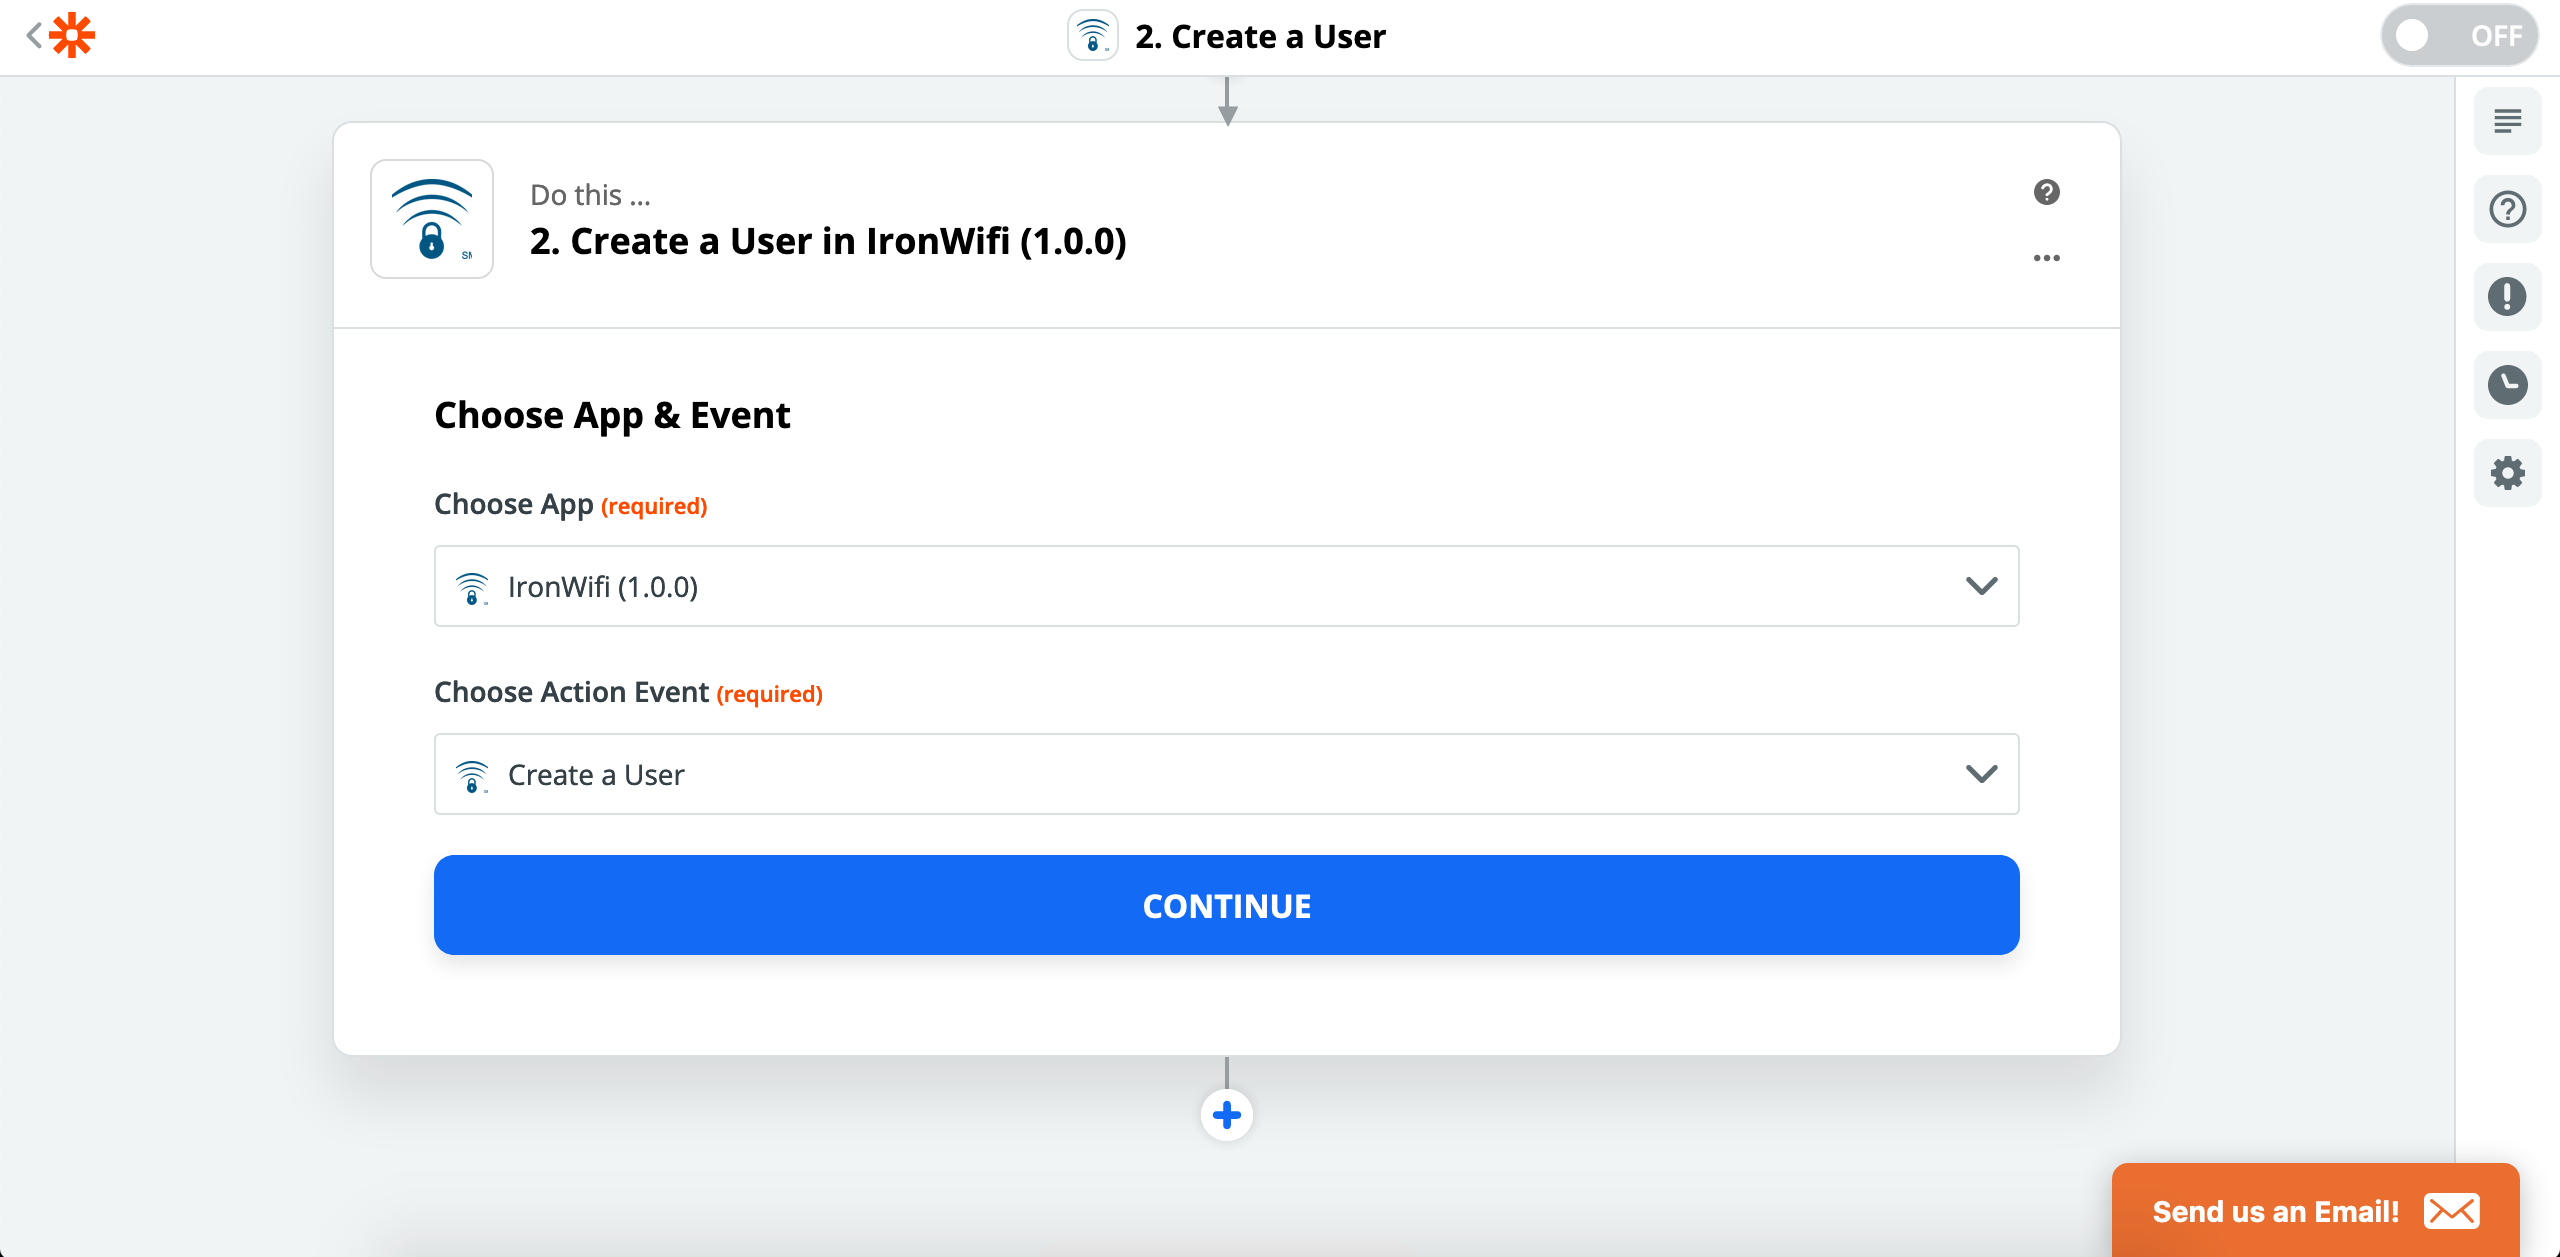
Available Actions
Actions perform tasks in IronWiFi:
Create User
Add a new user to IronWiFi.
Required fields:
- Username
Optional fields:
- Full name
- Password
- Groups
Update User
Modify an existing user.
Delete User
Remove a user from IronWiFi.
Add to Group
Add a user to a group.
Generate Voucher
Create a new access voucher.
Example Zaps
New Signup to WiFi Access
Trigger: New form submission (Typeform, Google Forms) Action: Create IronWiFi user
Use case: Automatically grant WiFi access when someone registers.
Authentication to CRM
Trigger: New IronWiFi authentication Action: Update HubSpot/Salesforce contact
Use case: Track when customers visit your location.
New Employee Onboarding
Trigger: New employee in BambooHR Action: Create IronWiFi user, Add to group
Use case: Automatically provision network access for new hires.
Expiring Access Notification
Trigger: Schedule (daily) Action: Find users expiring soon → Send email via Gmail
Use case: Notify users before their access expires.
Building a Zap
Step-by-Step Example
Create users from Google Sheets:
-
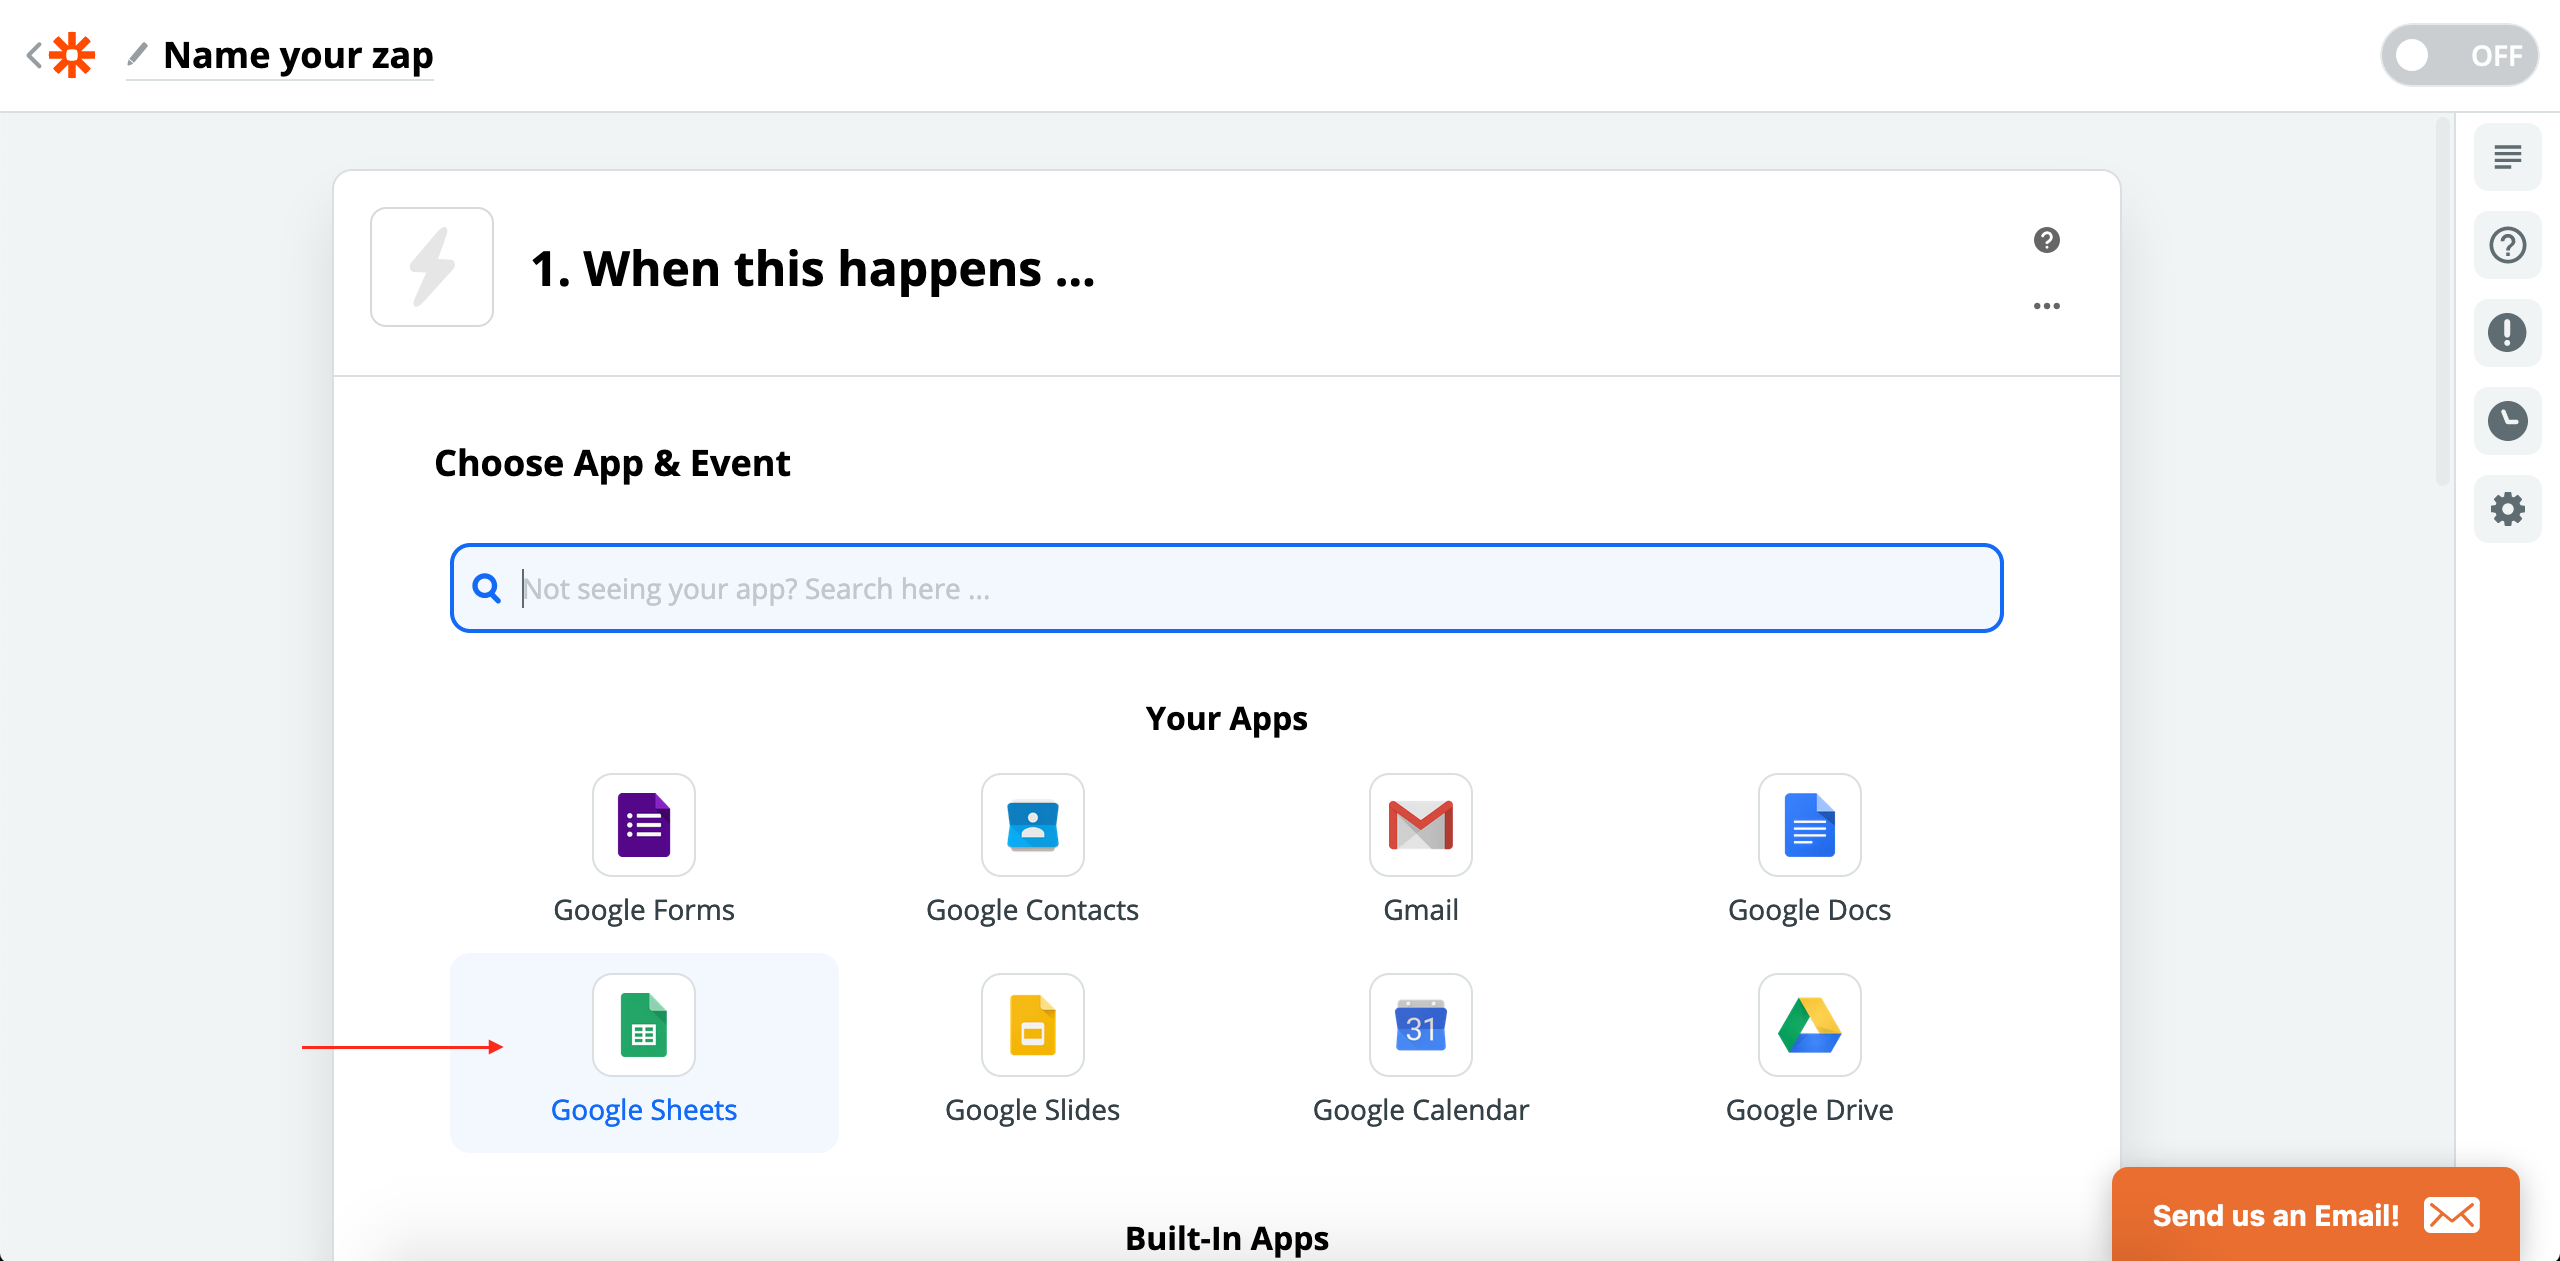
Create a new Zap
-
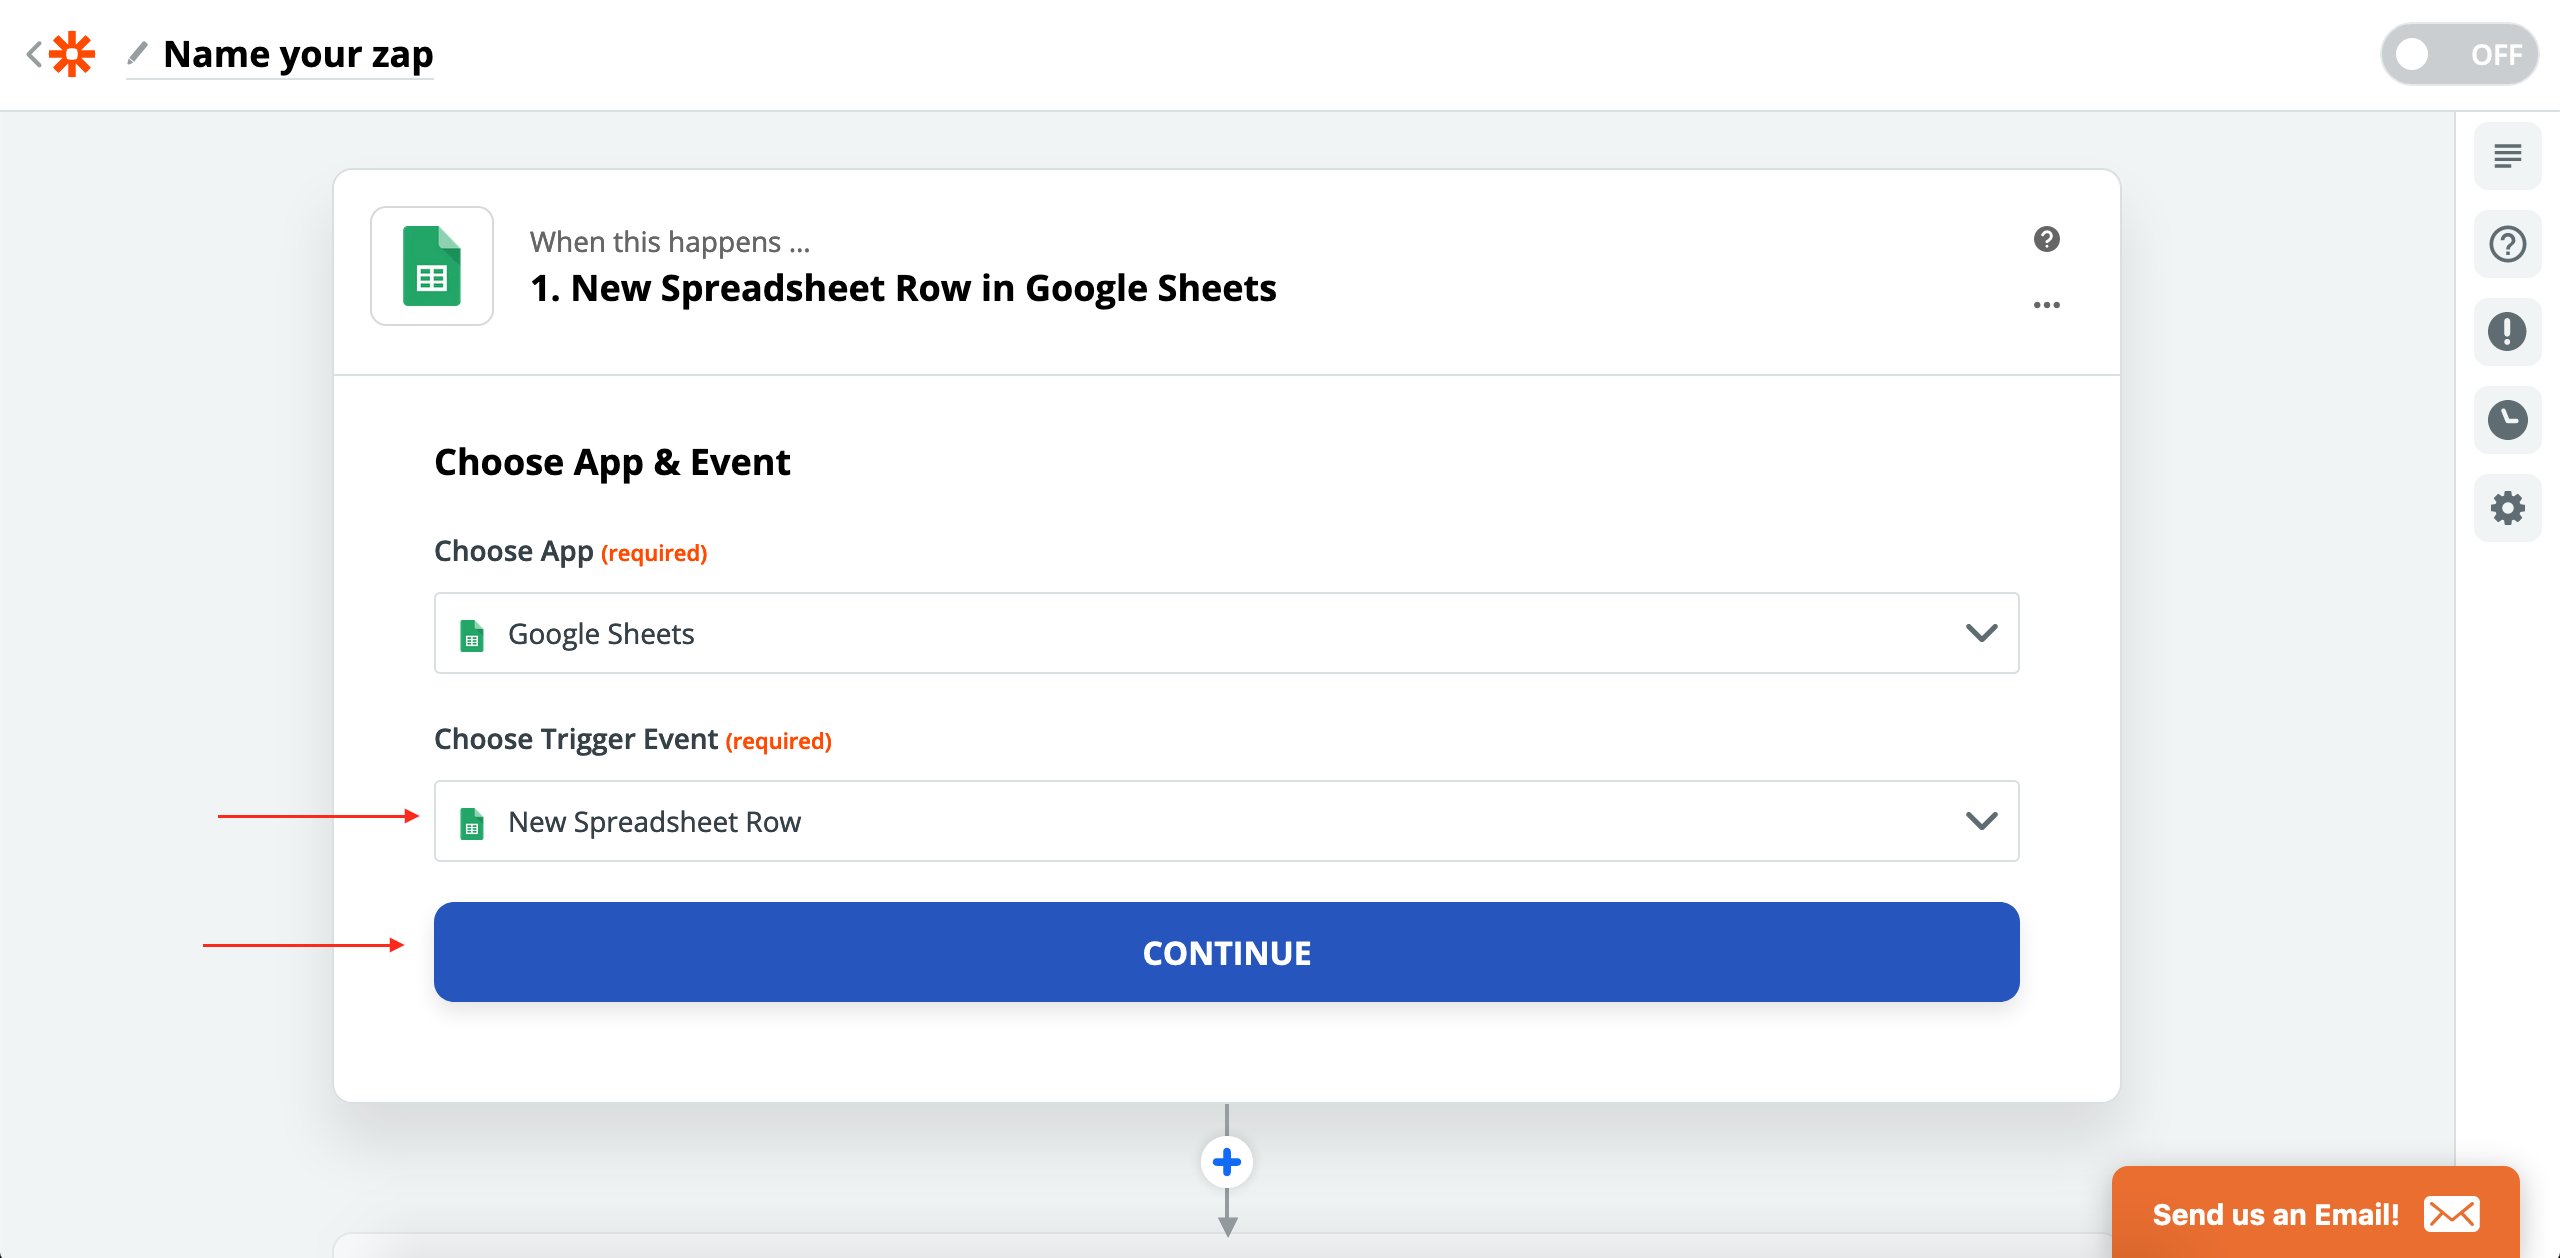
Set up trigger:
- App: Google Sheets
- Trigger: New Row
- Connect account
- Select spreadsheet and sheet
-
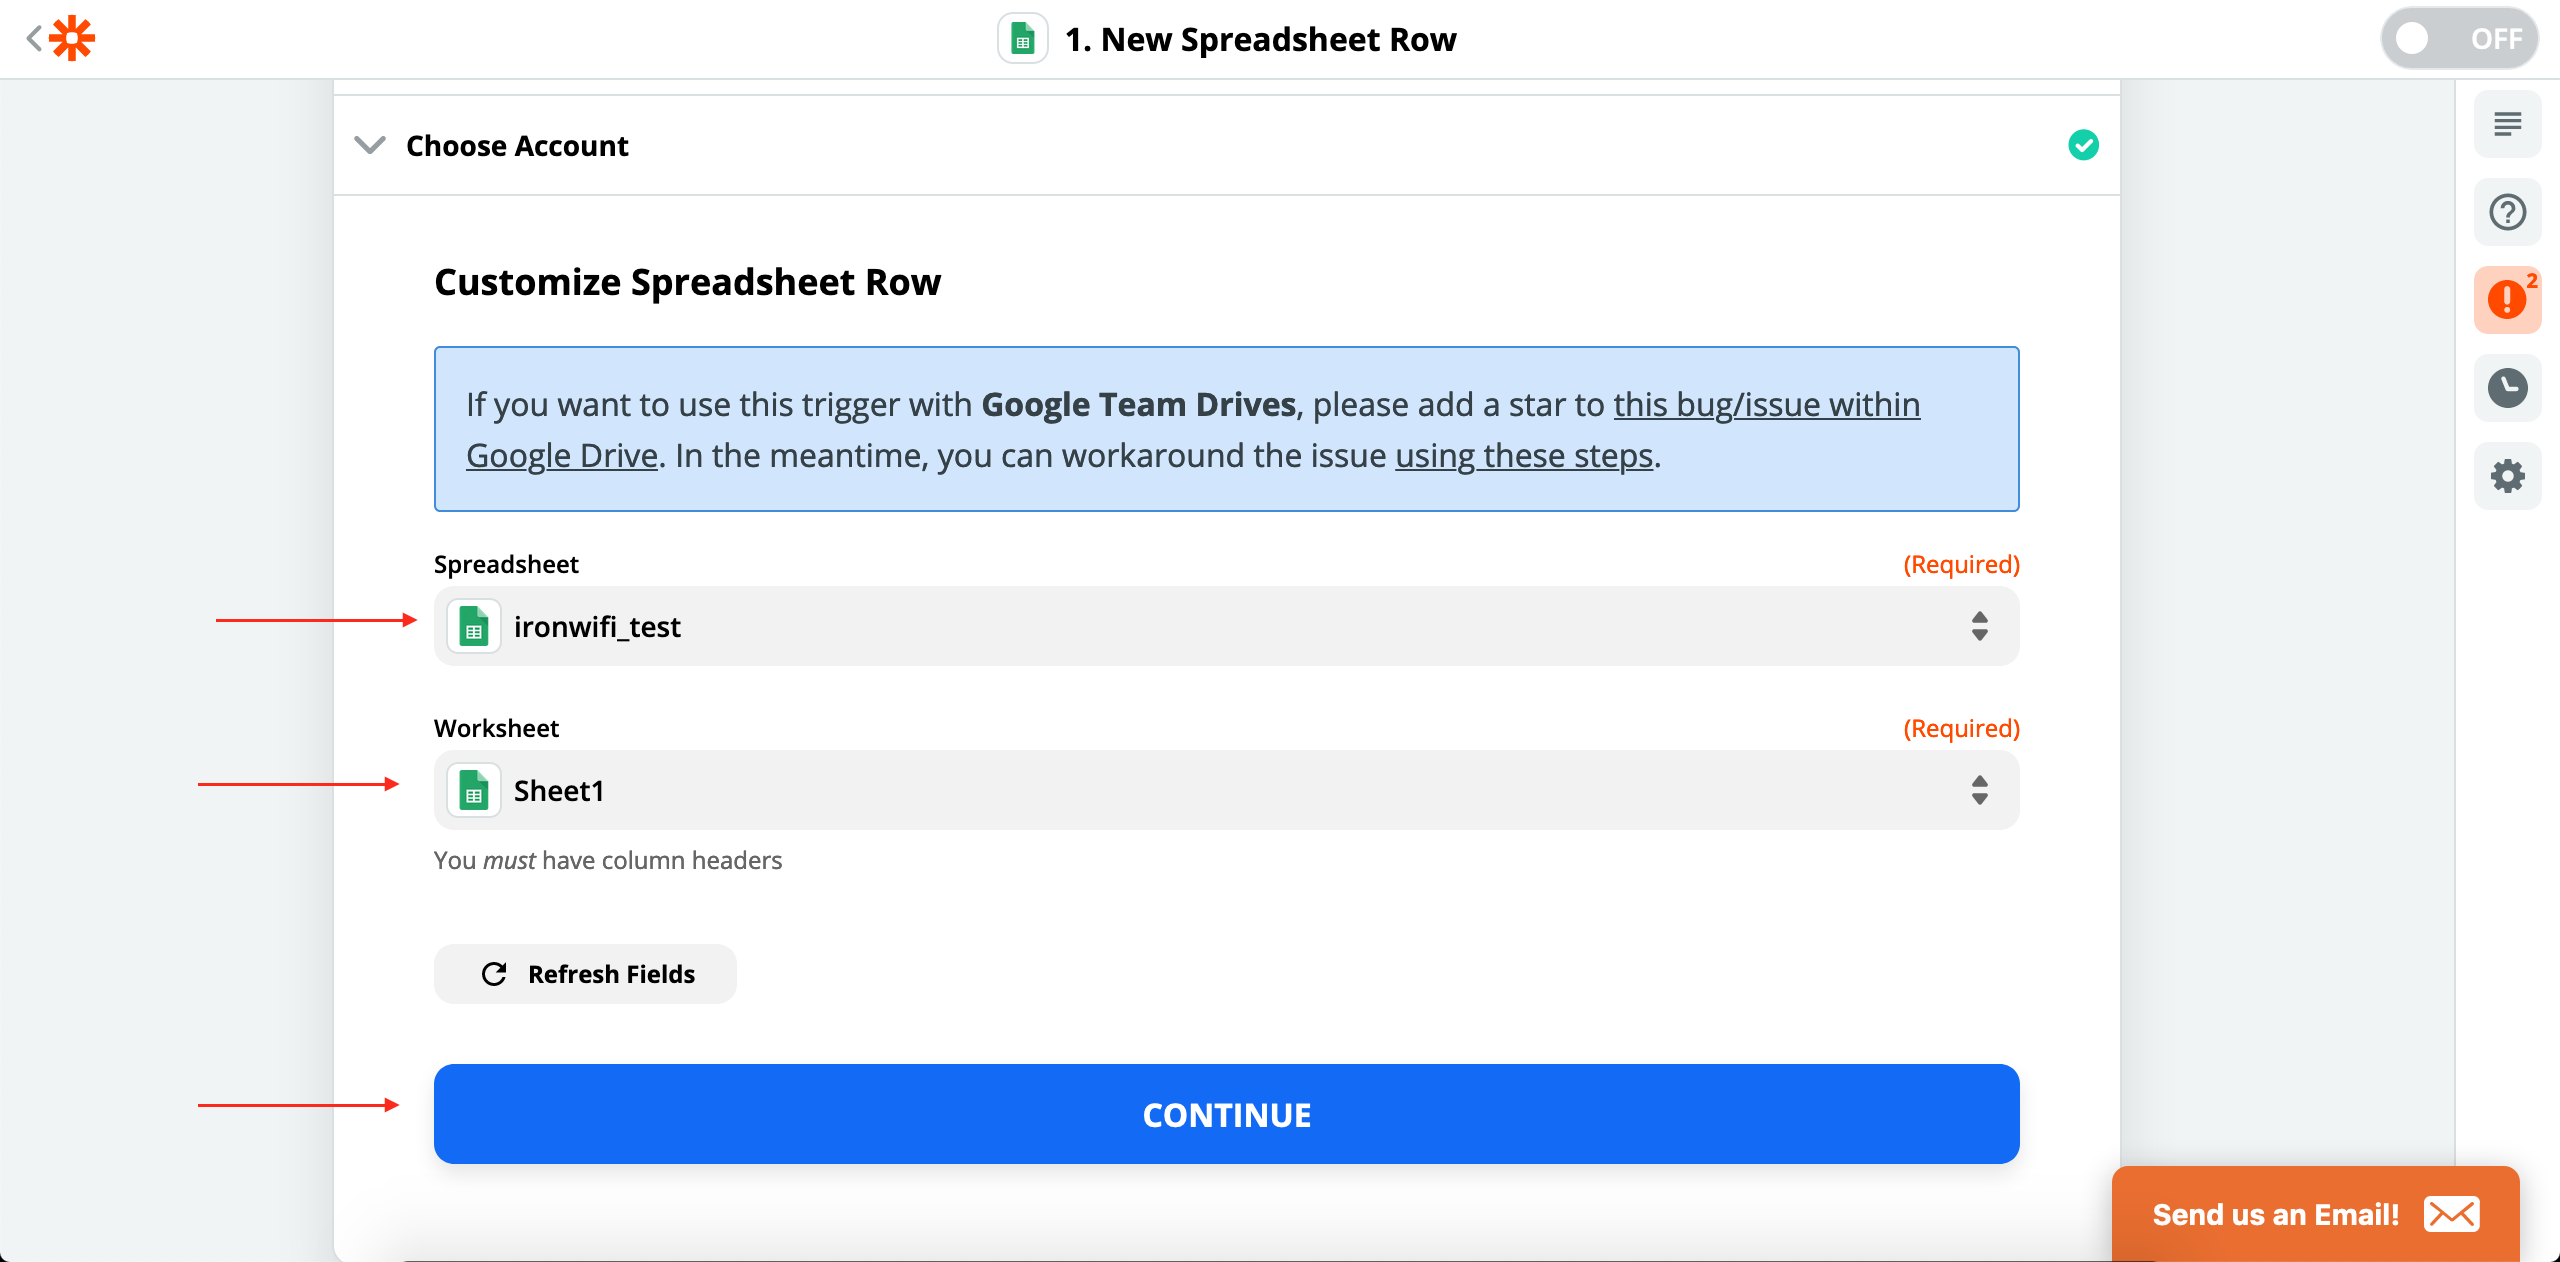
Configure the trigger:
- Select your spreadsheet and worksheet
- Click Continue
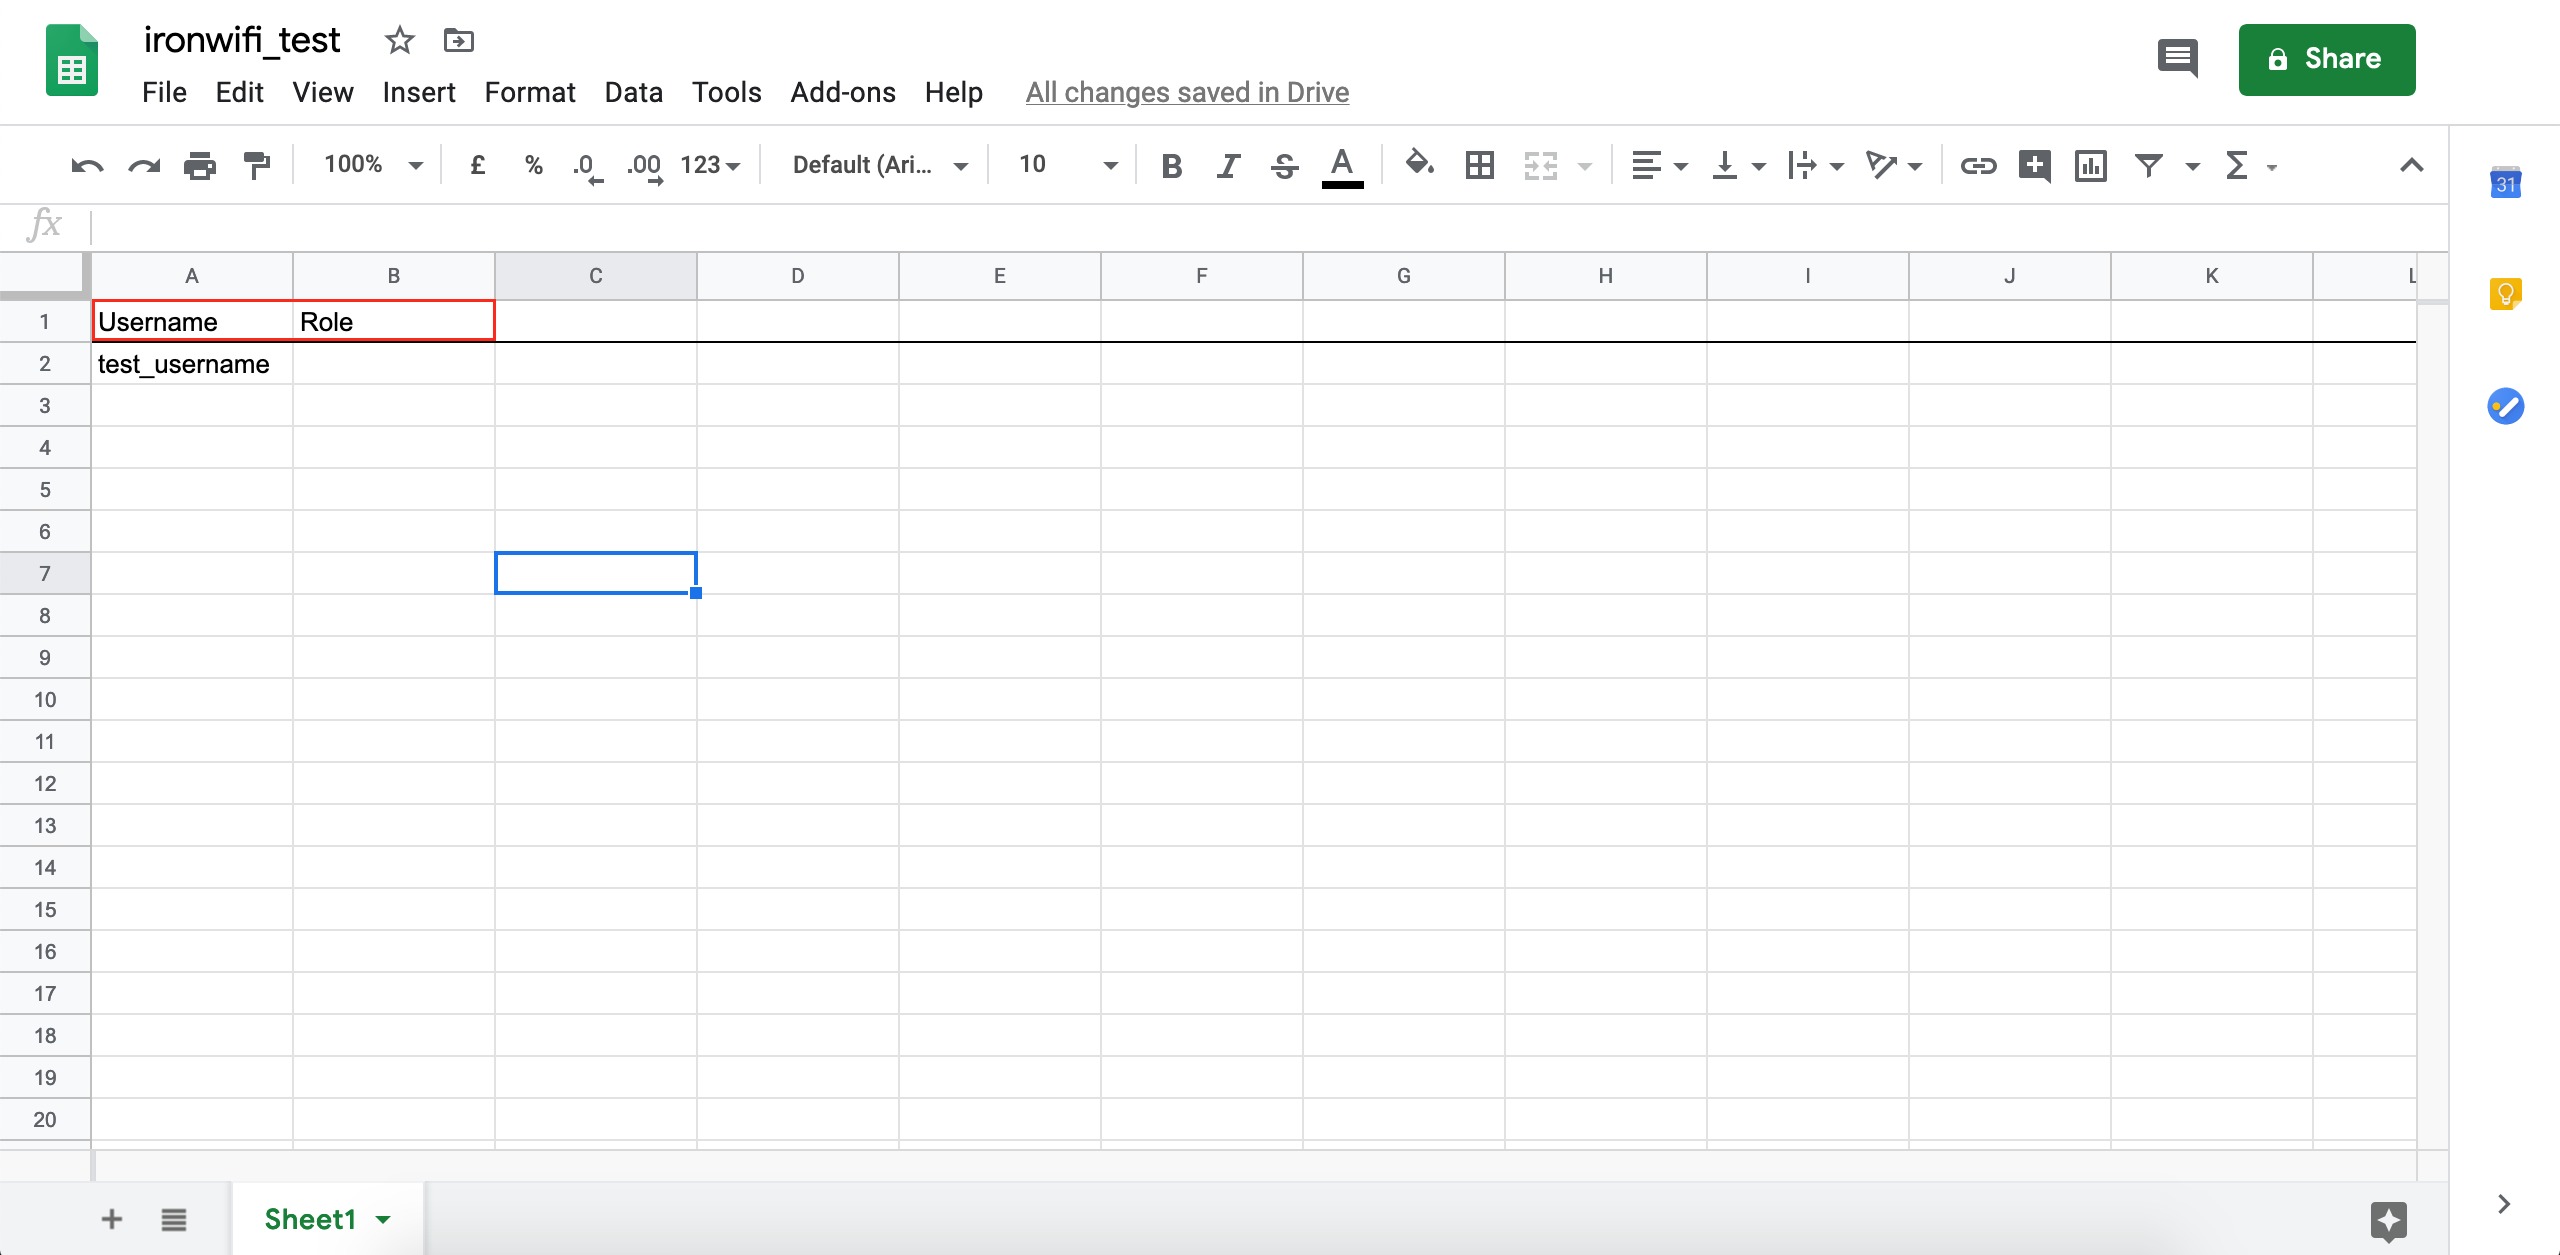
Here is an example Google Sheet with Username and Role columns:
-
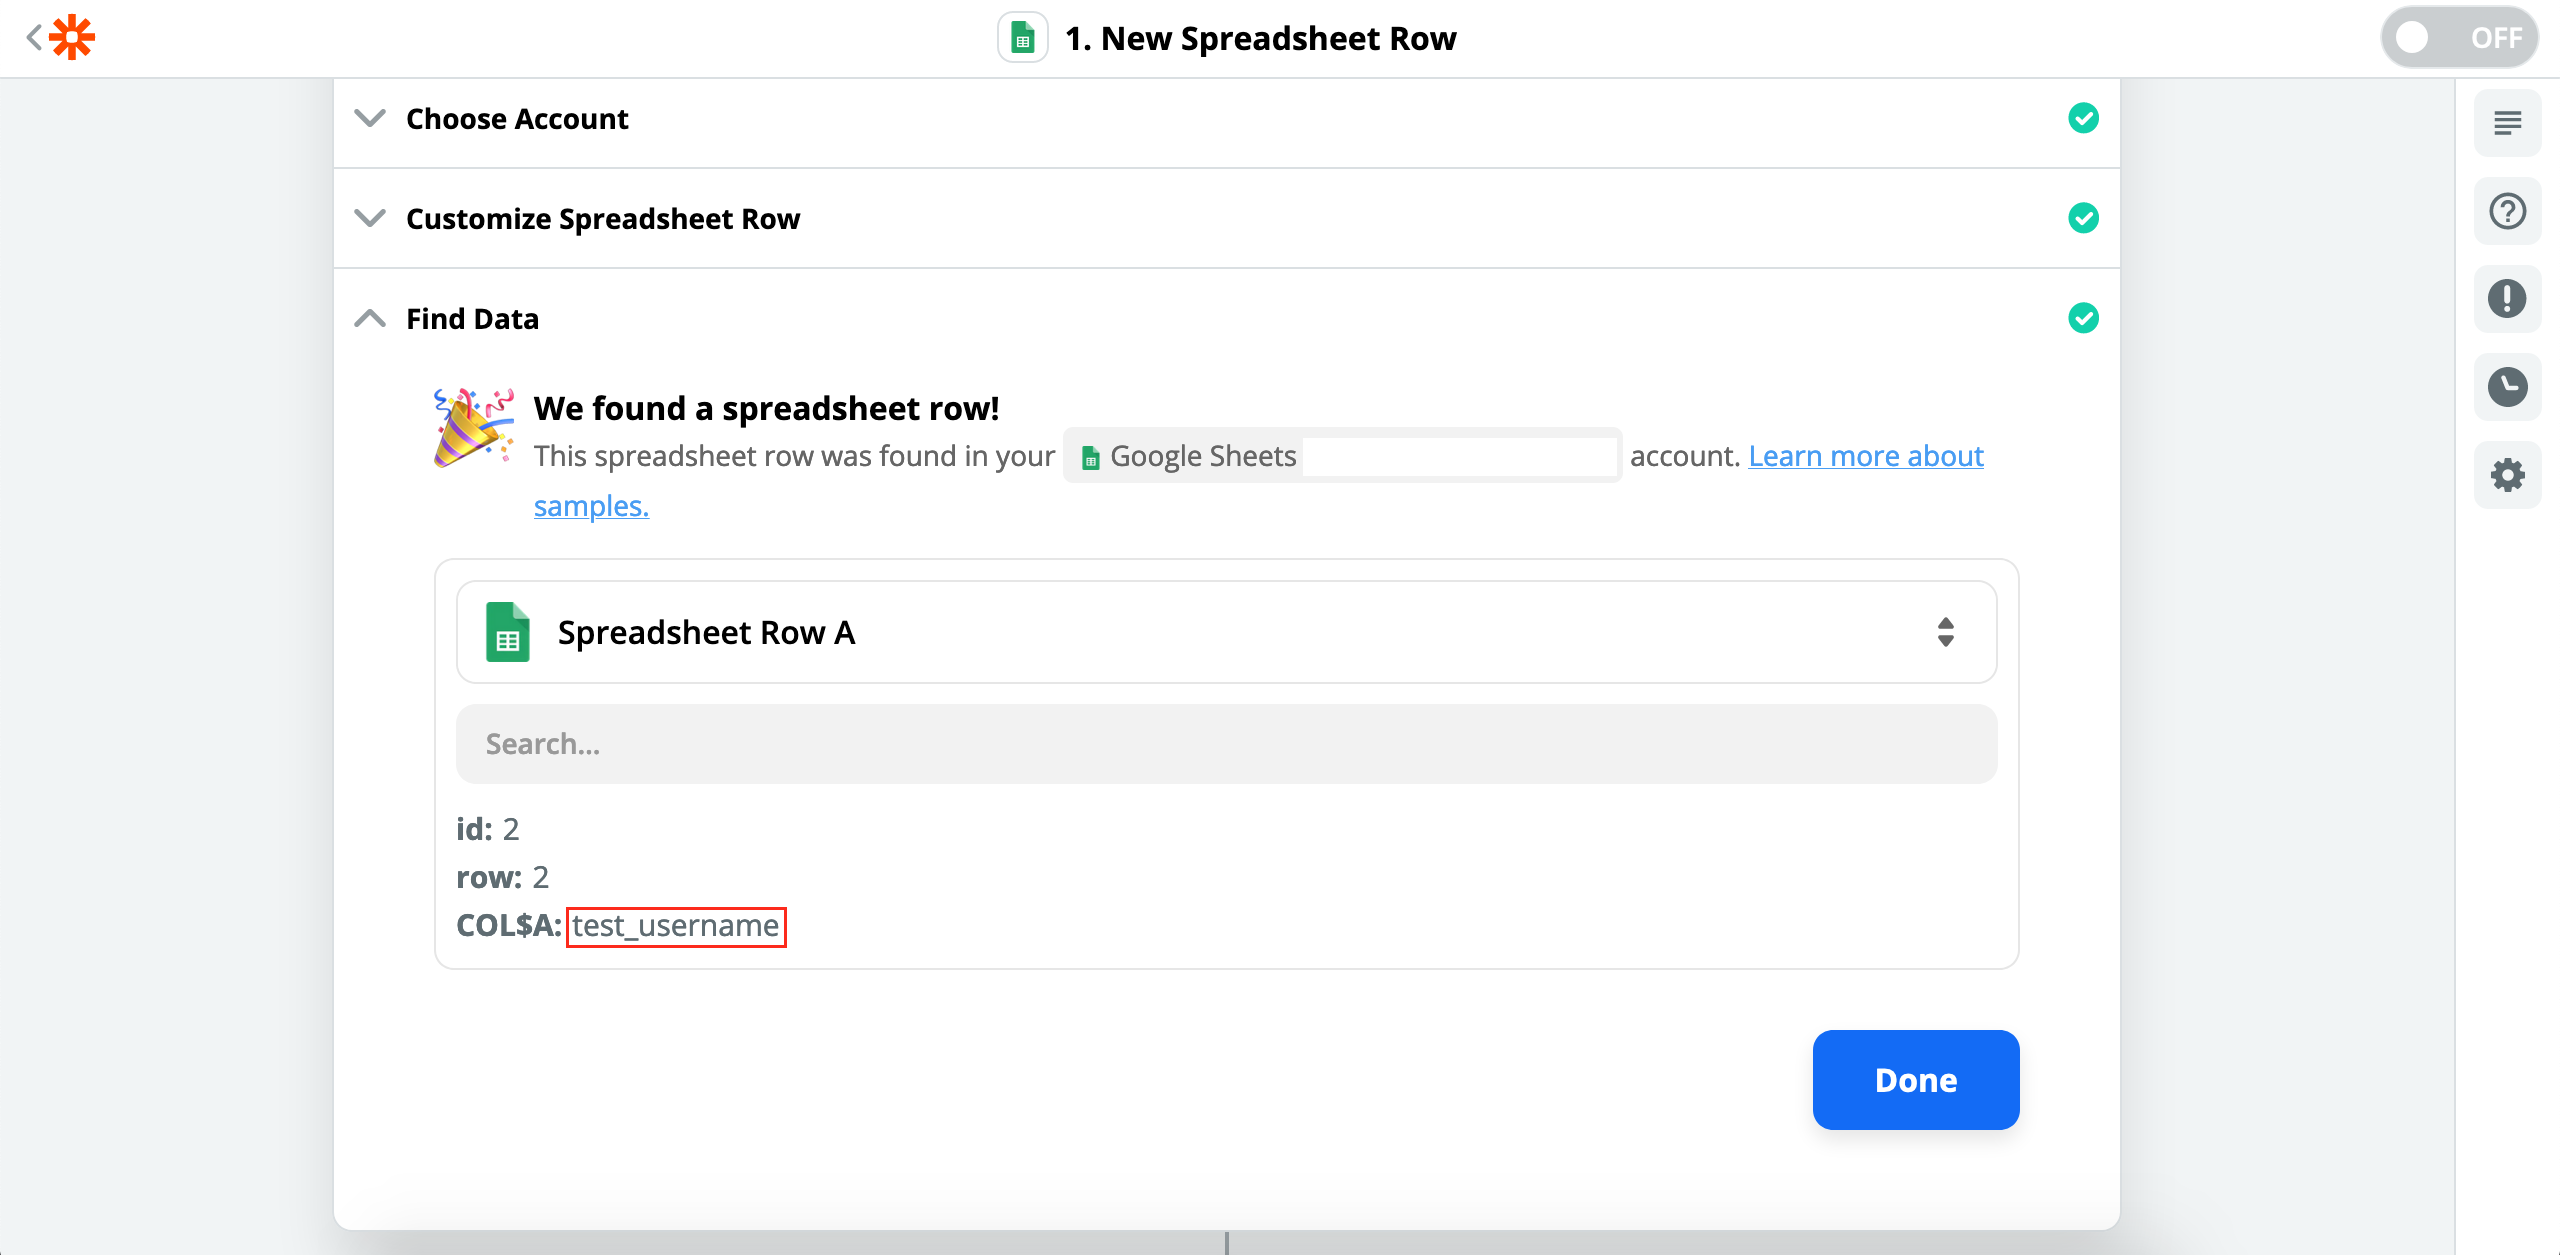
Test the trigger:
- Zapier will pull sample data from your sheet
- Verify the data looks correct
-
Set up action:
- Search for "IronWiFi" as the action app
- Action: Create a User
- Click Continue
-
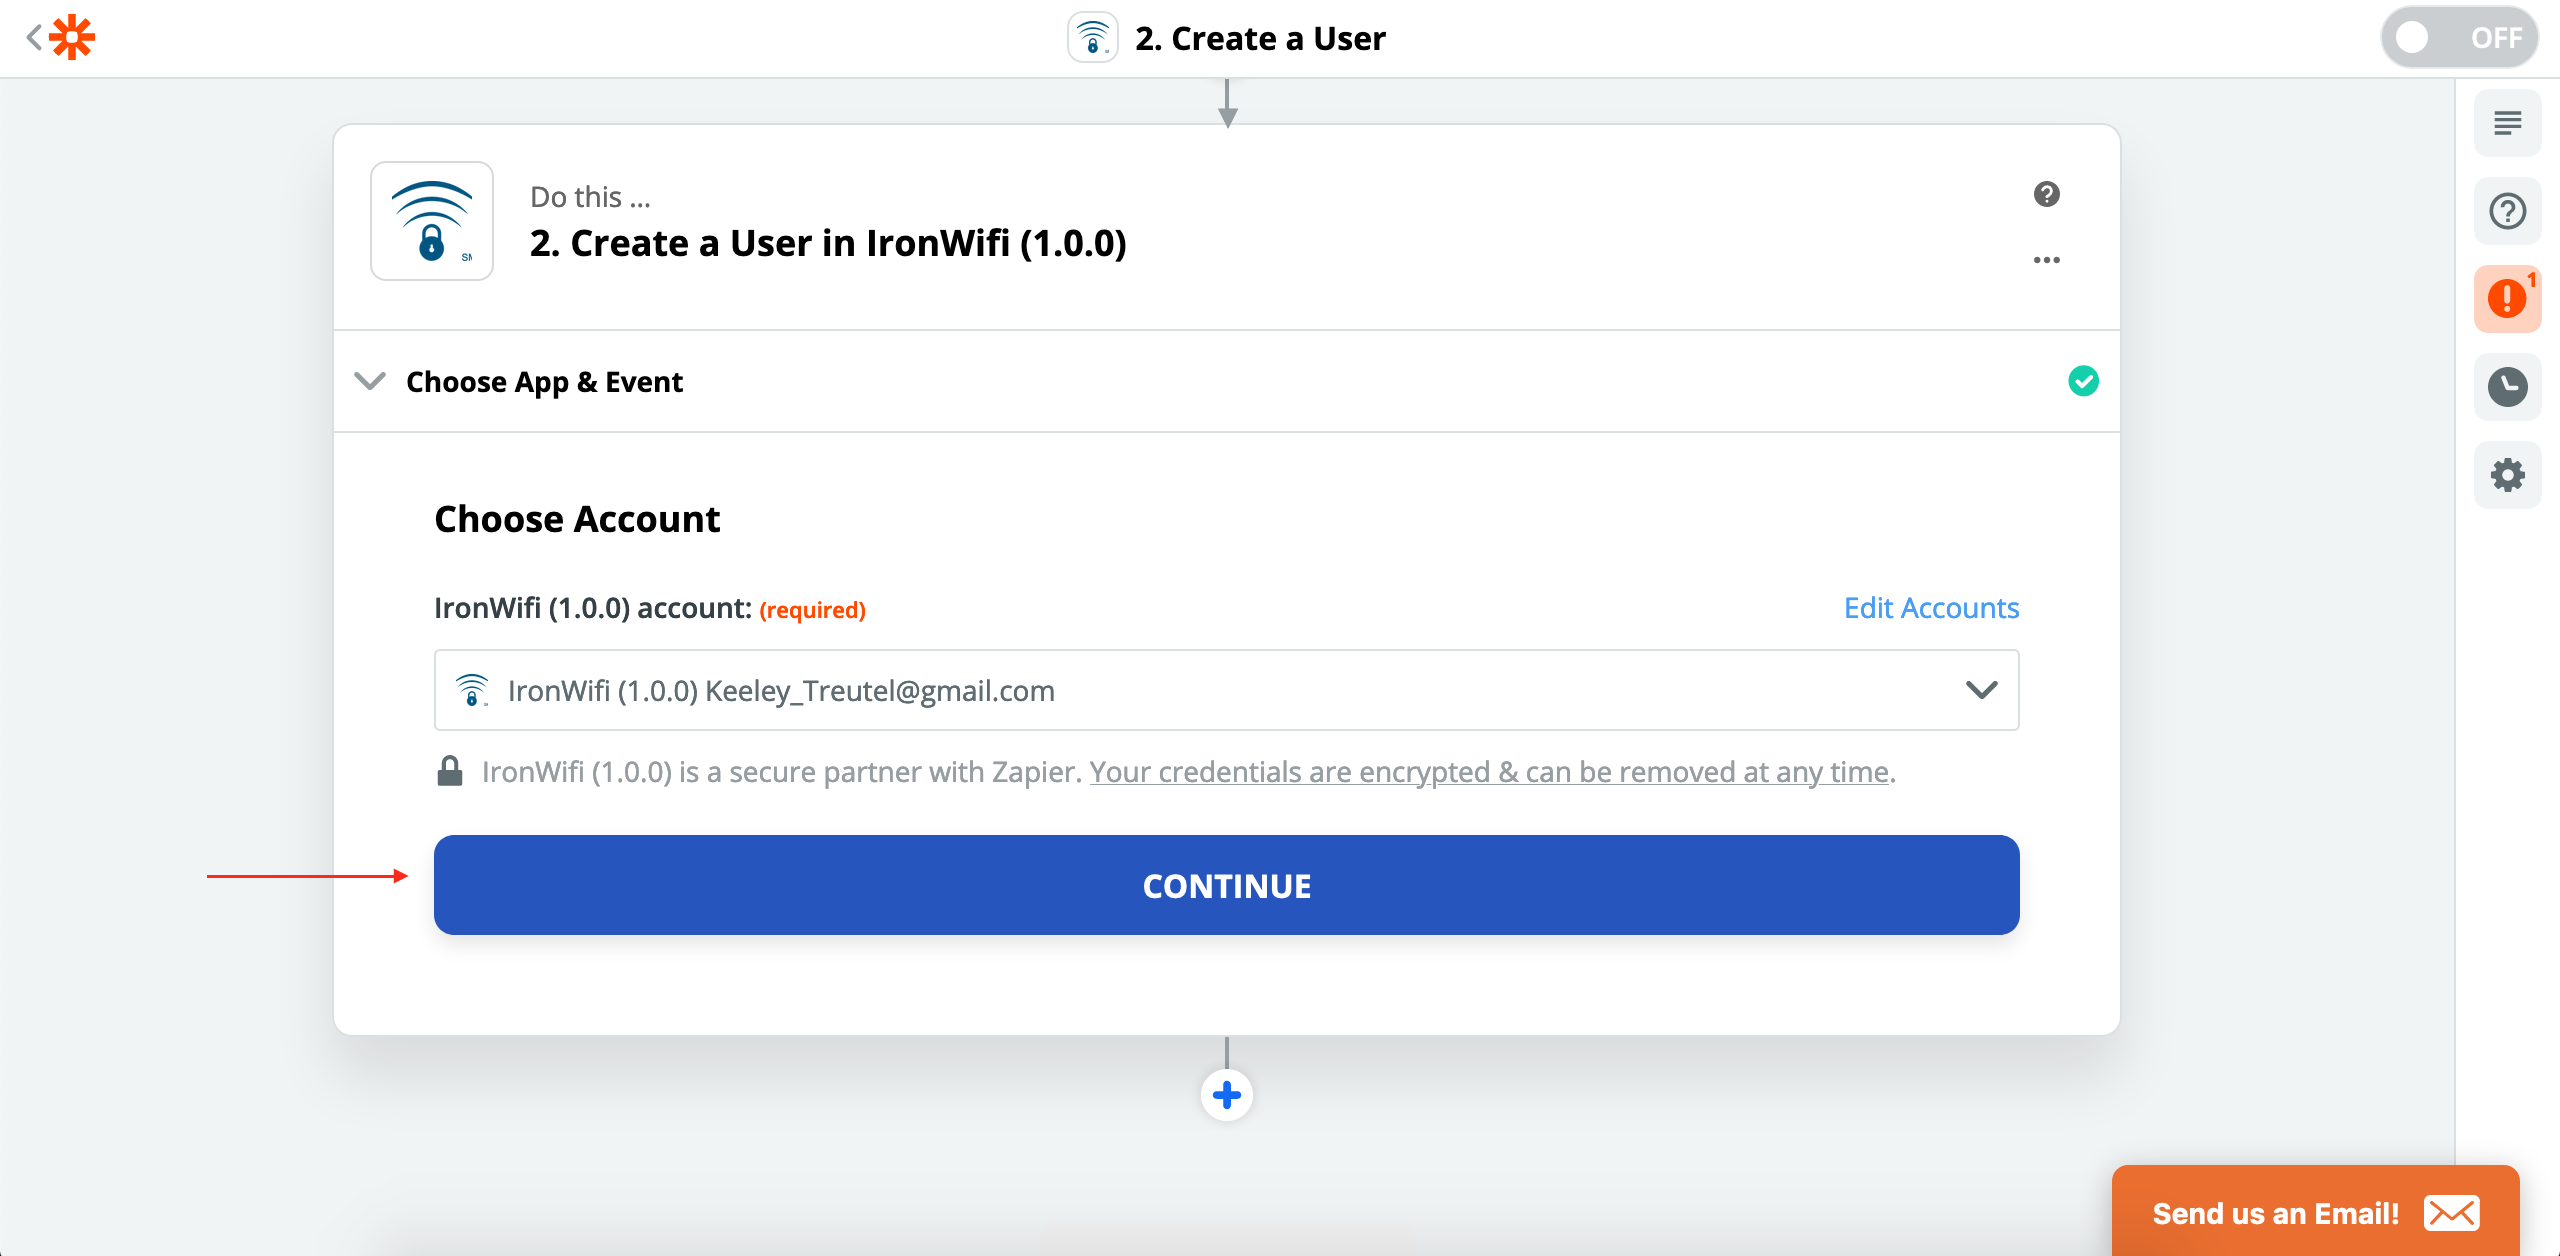
Connect IronWiFi account:
- Enter your API key when prompted
- Click Yes, Continue
- Select your connected IronWiFi account
-
Map fields:
- Map the Name field to the Username column from your spreadsheet
- Map other fields as needed

-
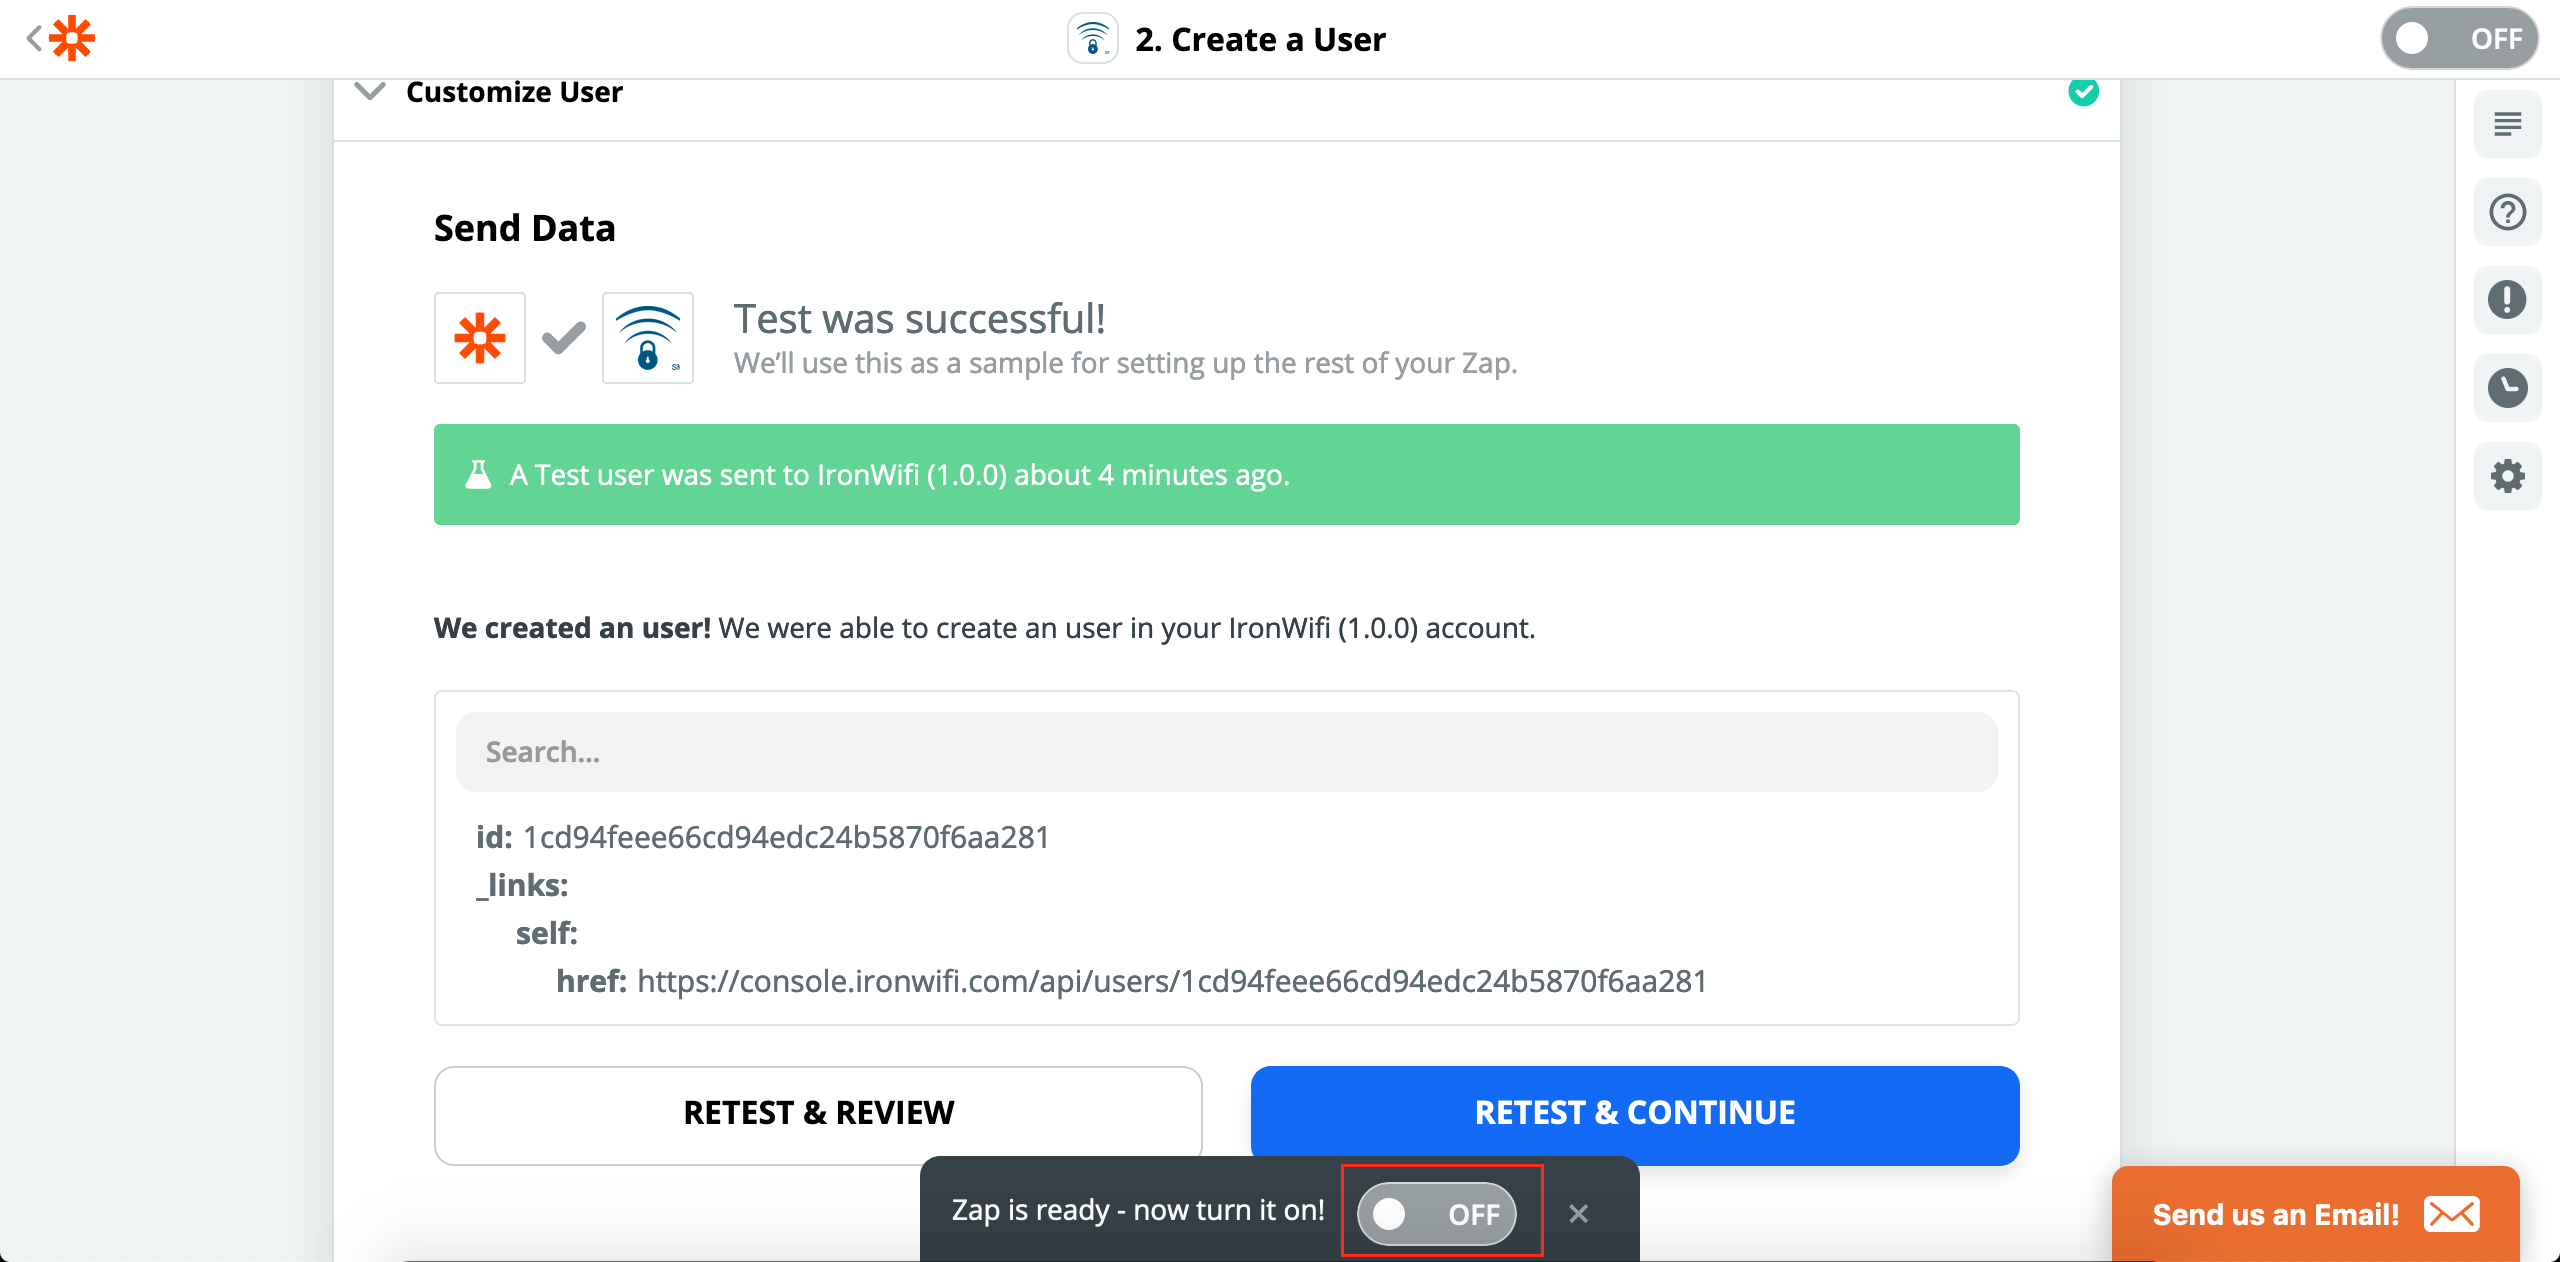
Test your Zap:
- Click Test & Continue to send test data to IronWiFi
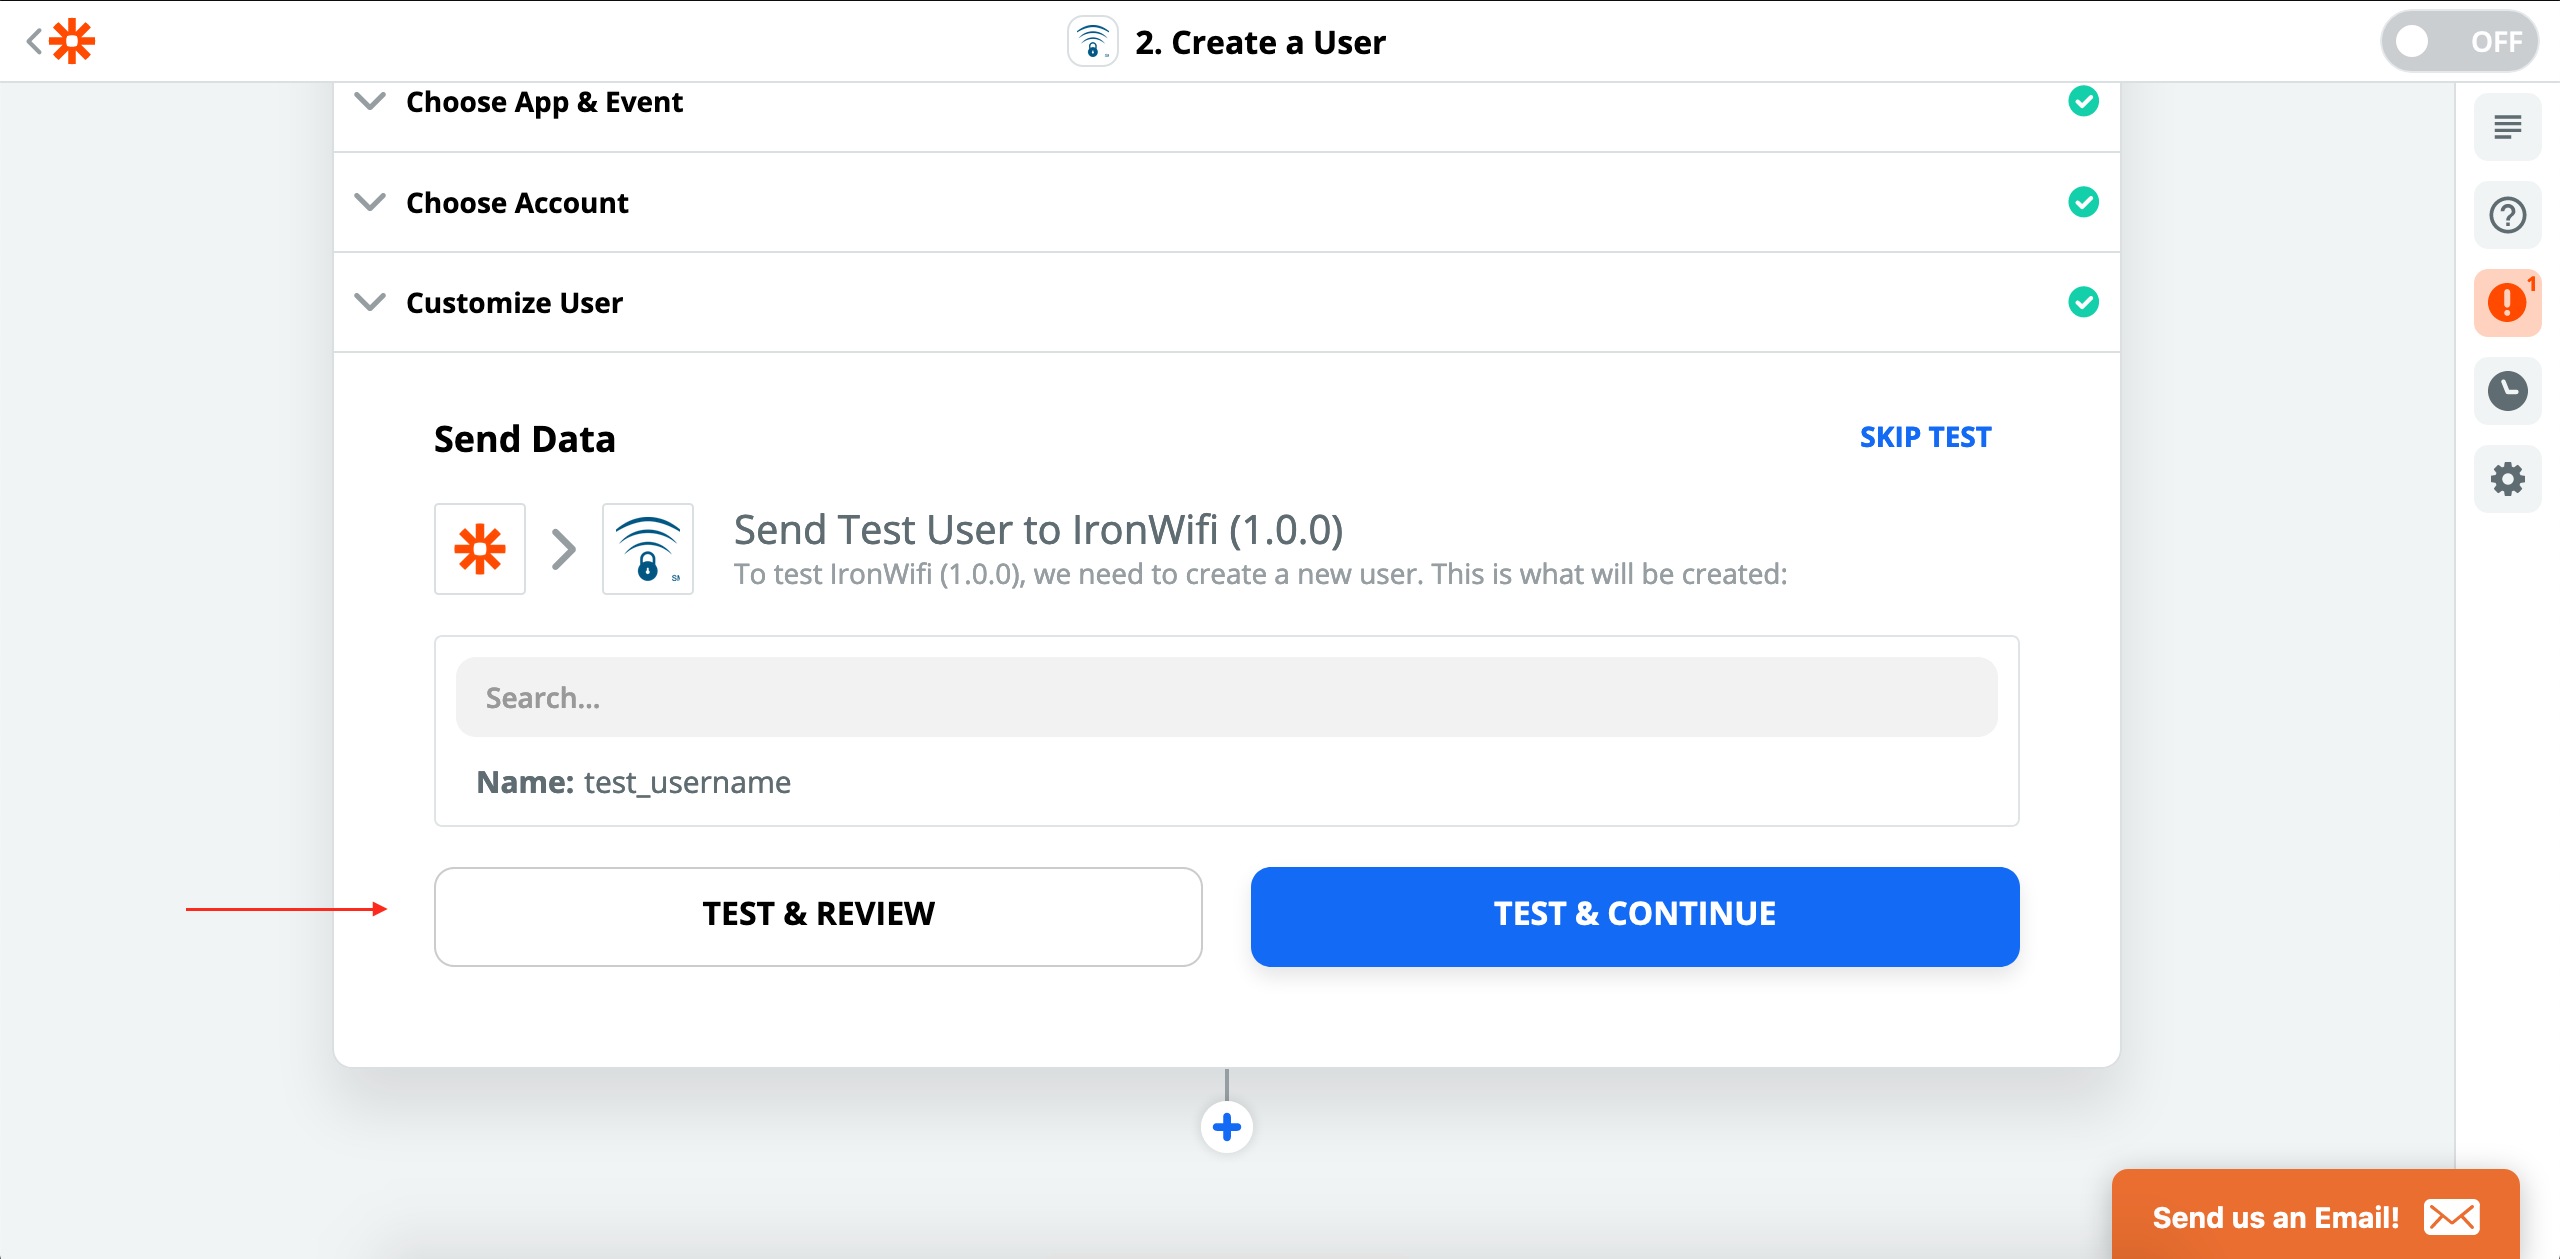
- Verify the test was successful and the user was created
-
Turn on your Zap
Multi-Step Zaps
Chain multiple actions together:
Example: Full Onboarding
- Trigger: New employee in HRIS
- Action 1: Create IronWiFi user
- Action 2: Add user to department group
- Action 3: Send welcome email with credentials
- Action 4: Add record to training spreadsheet
Filters and Paths
Filters
Only continue if conditions are met:
- Only create user if department = "Engineering"
- Only send notification if authentication failed
Paths
Different actions based on conditions:
- Path A: VIP users → Premium group
- Path B: Standard users → Basic group
Troubleshooting
Zap Not Triggering
- Verify IronWiFi connection is active
- Check trigger conditions
- Review Zap history for errors
Action Failing
- Check API key is valid
- Verify required fields are mapped
- Review error message details
Data Not Mapping
- Ensure field types match
- Check for special characters
- Verify source data format
Best Practices
- Test thoroughly - Use test mode before enabling
- Handle errors - Add error notification steps
- Document Zaps - Name and describe clearly
- Monitor usage - Watch Zapier task limits
- Secure API keys - Don't share or expose
- Version control - Note changes to Zaps
Was this page helpful?