pfSense
pfSense open-source firewalls authenticate WiFi and wired-guest users through their built-in captive portal against IronWiFi cloud RADIUS (PAP/MSCHAPv2), with the IronWiFi splash page delivered as the external portal URL. Configuration is done under Services > Captive Portal, where you add IronWiFi as the RADIUS authentication server for the zone.
Prerequisites
In IronWiFi Console (complete these first):
- Create a Network in IronWiFi Console
- Create a Captive Portal with the appropriate vendor
- Note your RADIUS settings and Splash Page URL
In pfSense:
- Administrative access to pfSense device
- Network connectivity to IronWiFi RADIUS servers
Device Configuration
Step 1: Access pfSense Web Interface
Log in to the pfSense web interface and navigate to the dashboard.
Step 2: Navigate to Captive Portal Settings
Go to Services > Captive Portal to begin configuration.

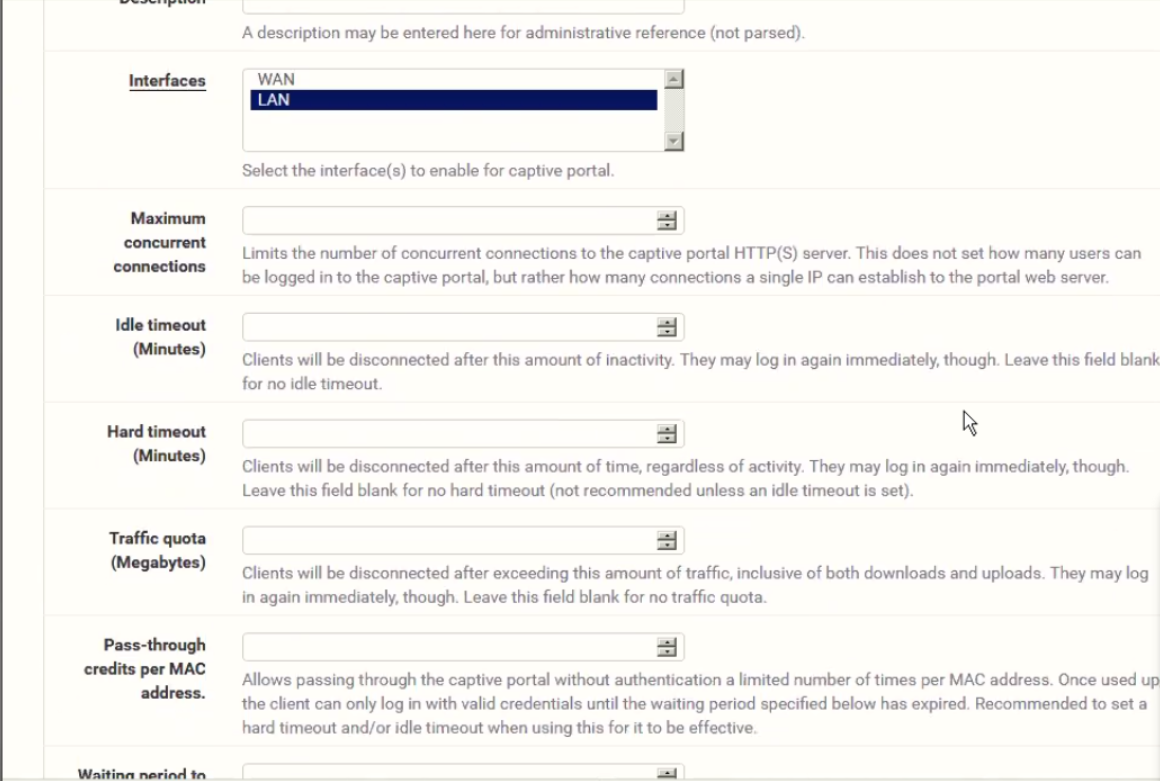
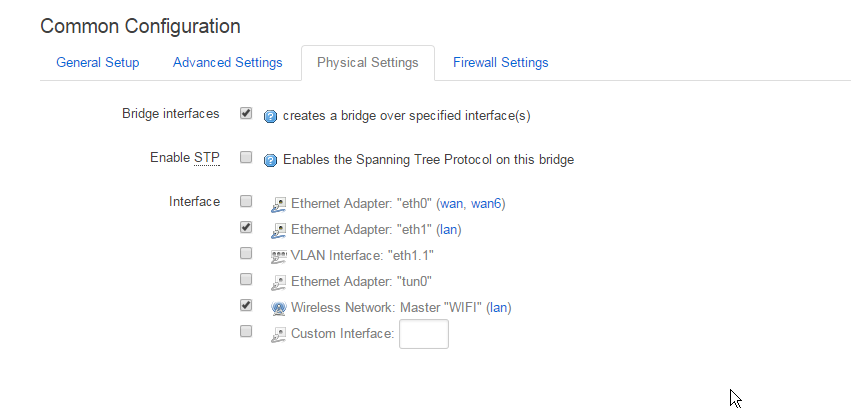
Step 3: Configure Captive Portal Zone
Create or edit a captive portal zone with the appropriate settings.
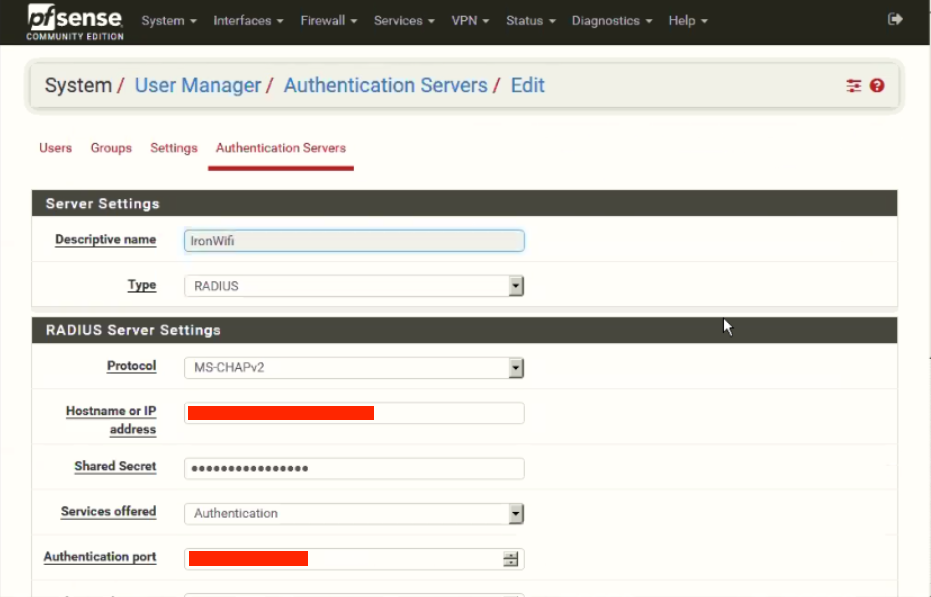
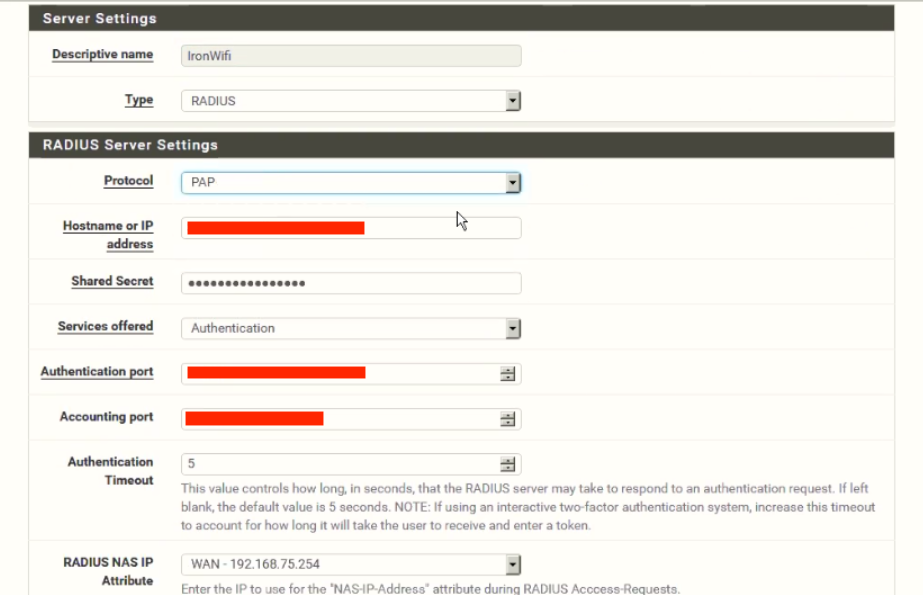
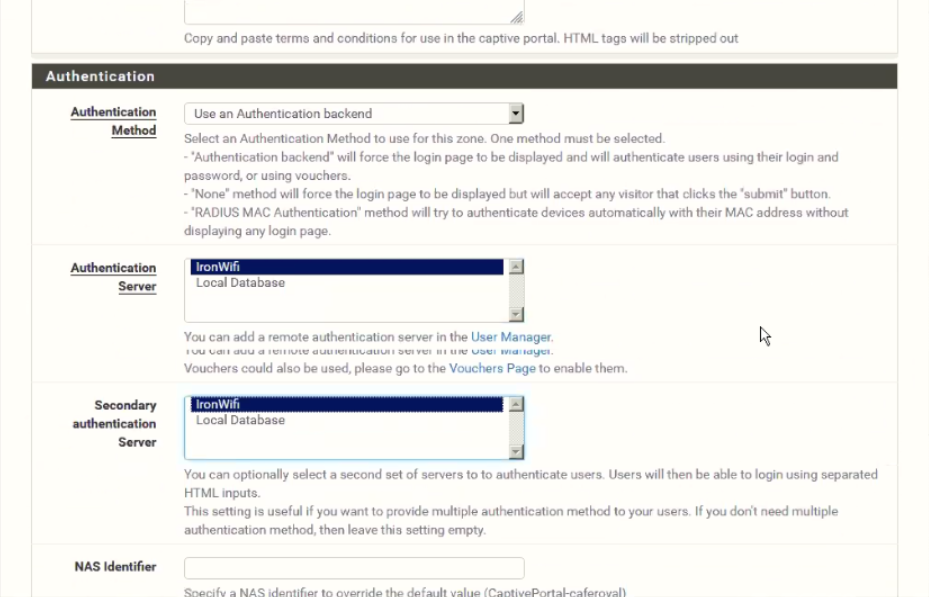
Step 4: Configure RADIUS Authentication
Navigate to the RADIUS authentication settings and configure with your IronWiFi details.

RADIUS Settings
Configure your device with:
| Setting | Value |
|---|---|
| Primary Server | |
| Auth Port | |
| Acct Port | |
| Shared Secret | |
Step 5: Configure RADIUS Accounting
Set up RADIUS accounting to track user sessions.
Captive Portal
- Enable external captive portal
- Set splash page URL from IronWiFi
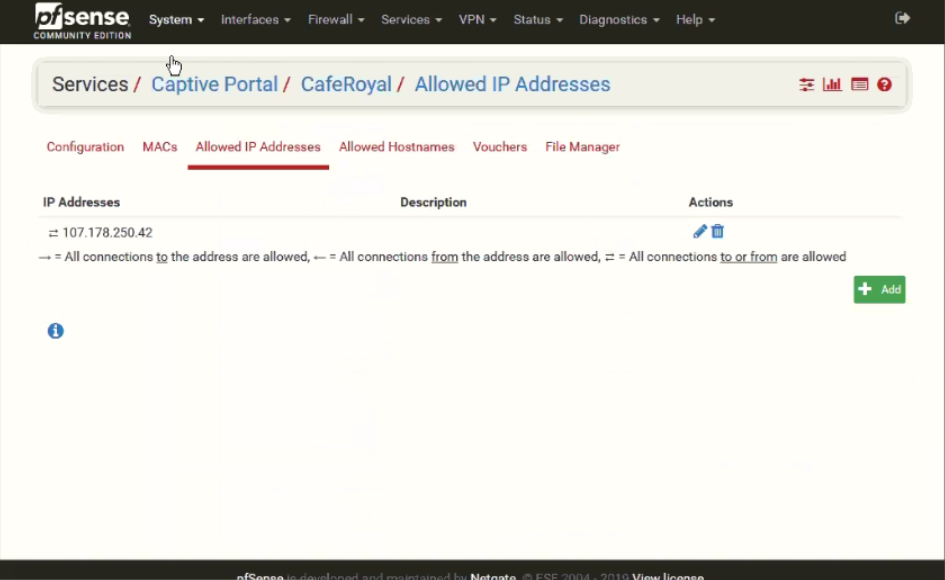
- Configure walled garden to include
107.178.250.42
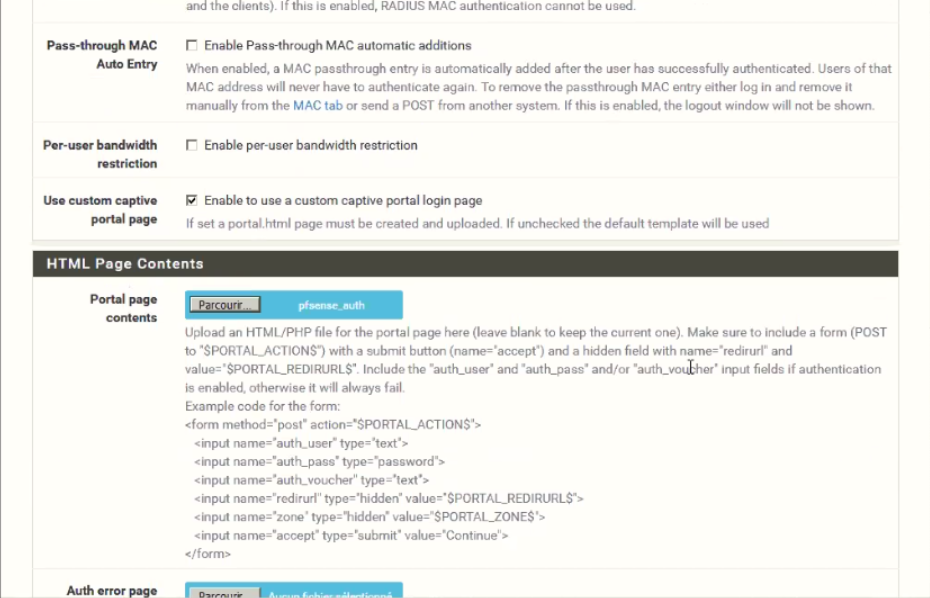
Step 6: Configure Portal Page
Set up the portal page redirect and authentication method.
Walled Garden
Add these entries for pre-authentication access:
Required for IronWiFi:
- (IronWiFi splash page)
107.178.250.42 - DNS servers
Authentication Provider Domains:
If using social login providers, add the following domains to your walled garden:
| Provider | Required Entries |
|---|---|
| |
| |
| |
| |
| Microsoft | |
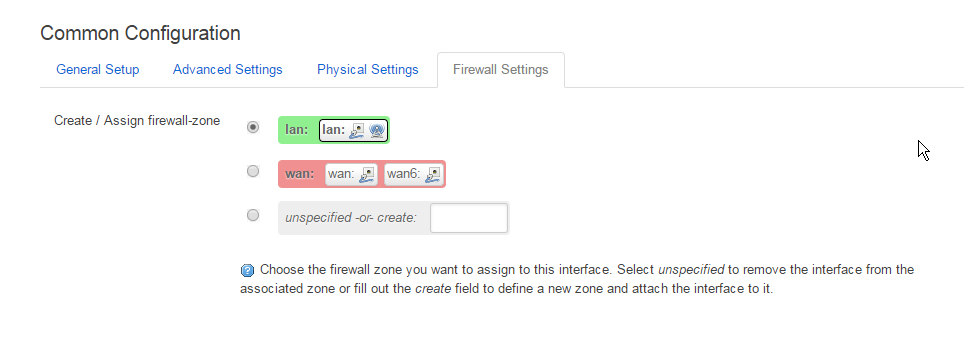
Step 7: Configure Firewall Rules
Set up the necessary firewall rules for the captive portal to function.


Step 8: Test and Verify Configuration
Verify that all settings are correct and test the captive portal.
WPA-Enterprise
For 802.1X authentication:
- Set security to WPA2-Enterprise
- Configure RADIUS server details
- Test with a known user
Troubleshooting
| Issue | Possible Cause | Solution |
|---|---|---|
| Portal not appearing | Walled garden misconfigured | Check walled garden includes |
| Authentication failing | RADIUS settings incorrect | Verify RADIUS IP, ports, and shared secret match IronWiFi Console |
| No internet after auth | Firewall or VLAN issue | Check firewall rules and VLAN settings |
Getting Help
For device-specific questions:
- Check manufacturer documentation
- Contact IronWiFi support at support@ironwifi.com
Related Topics
Shared configuration
Was this page helpful?