Okta (connector)
This page explains the configuration of the IronWiFi Okta Connector.
1. Navigate to admin Okta console https://login.okta.com/
2. On the left panel go to Security > API
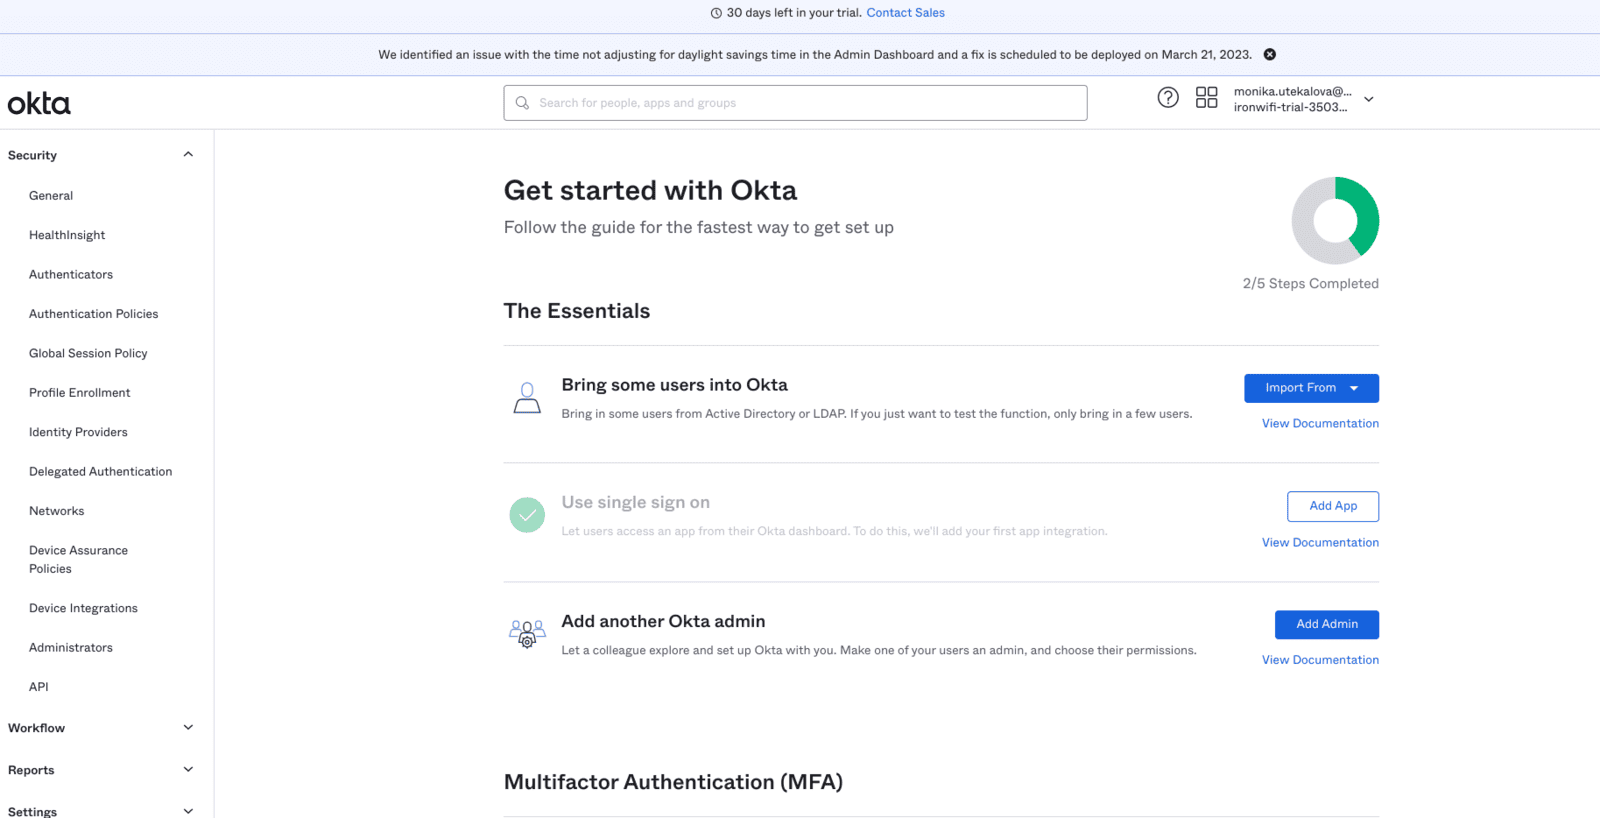
3. Click API > Tokens
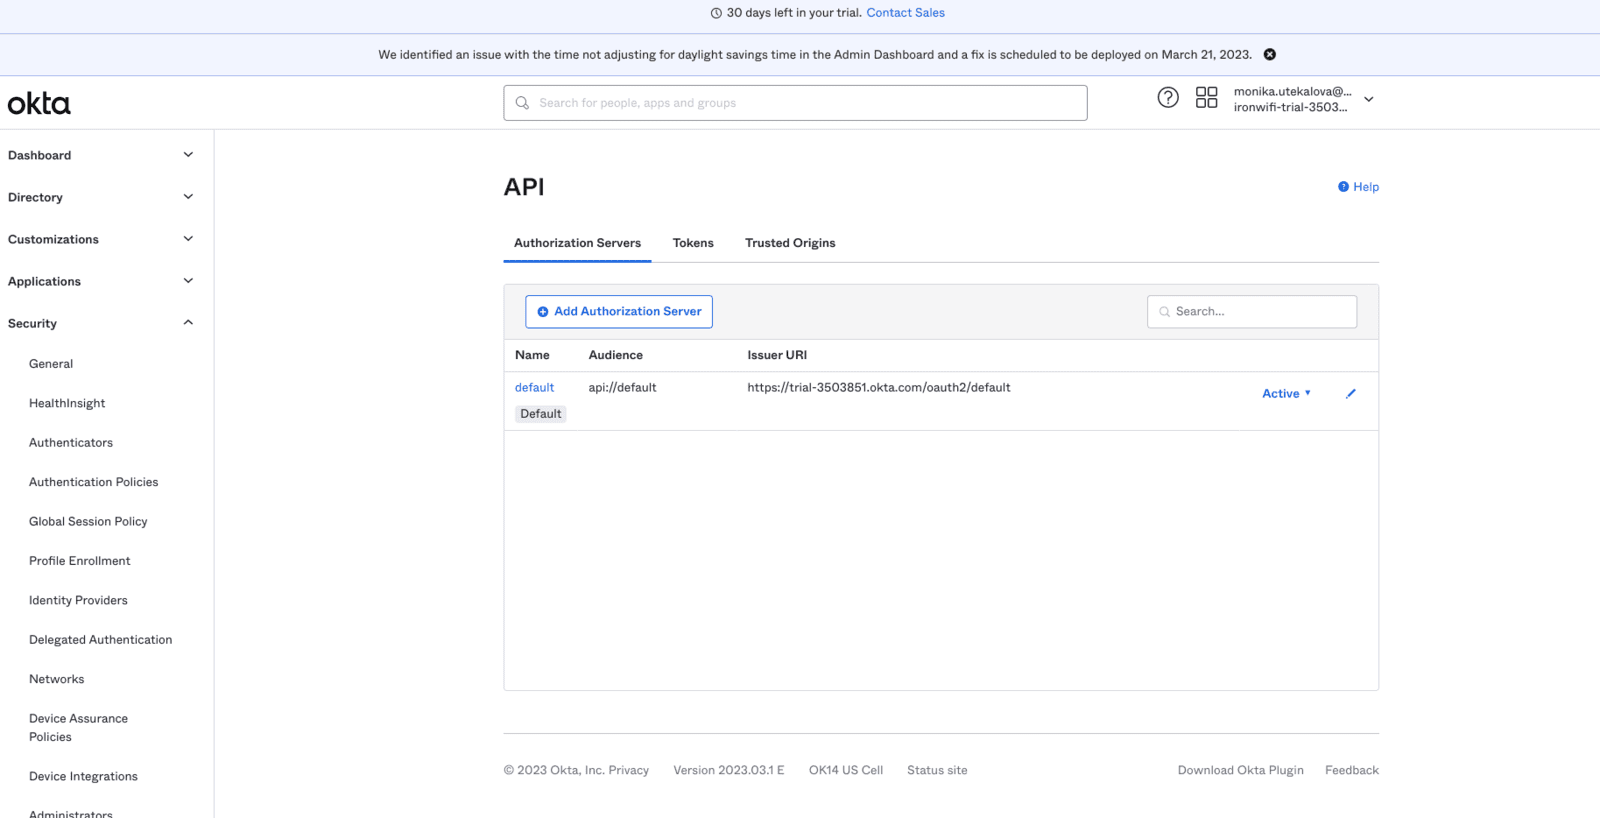
4. Click Create Token
5. Copy created Token
6. Go to the IronWiFi console
7. Navigate to Users > Connectors > click New Connector
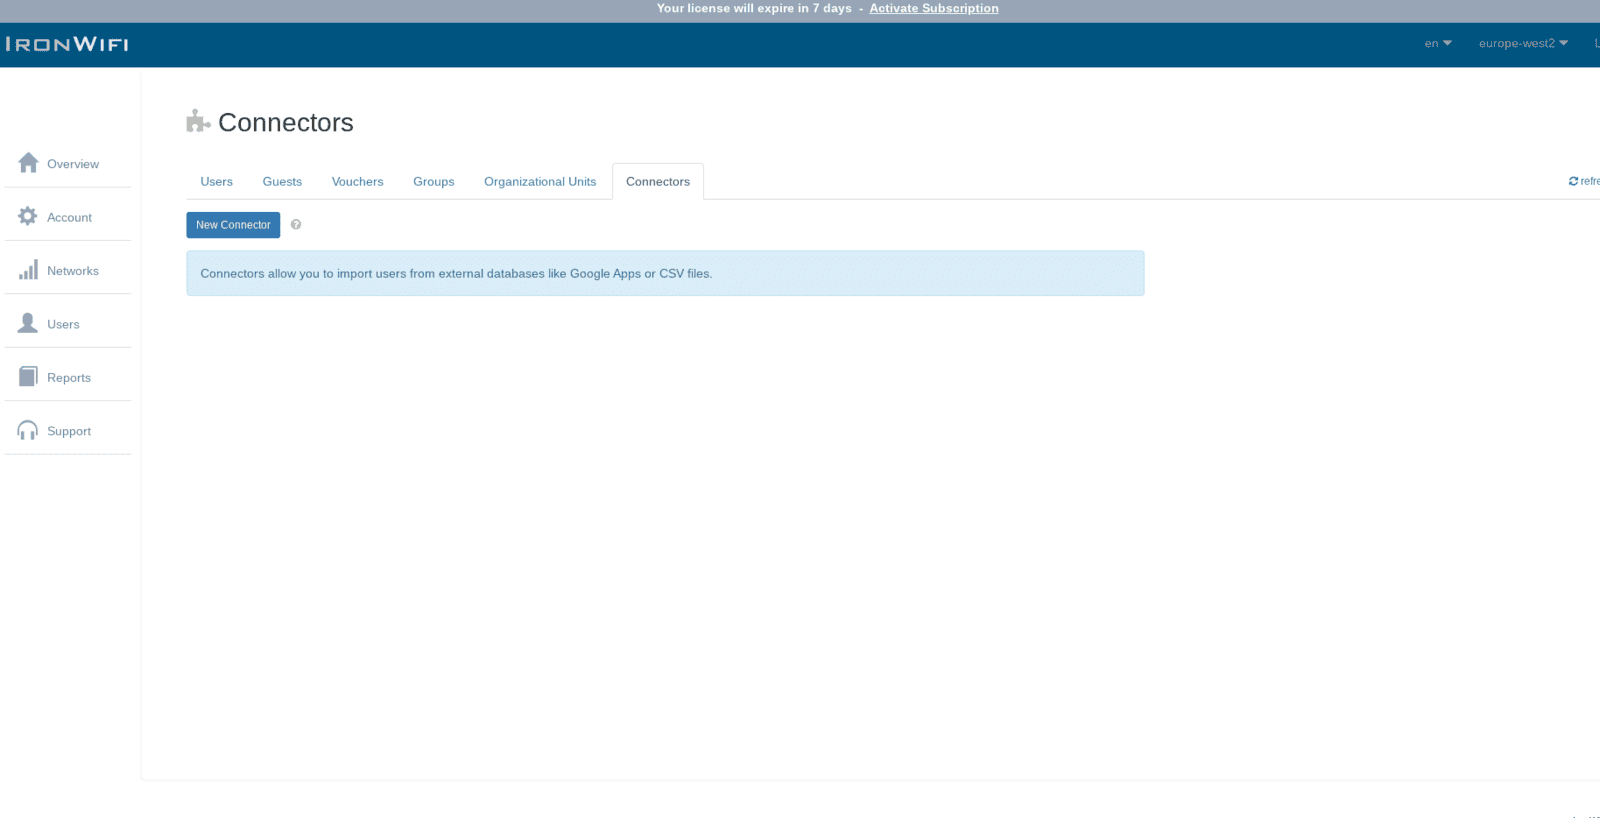
Configure >
- Name - okta2 (or whatever you wish)
- Database Type - OKTA
- Your Okta Domain - your_subdomain.okta.com
- Access Token - API Token
- Search Filter - status eq "ACTIVE"
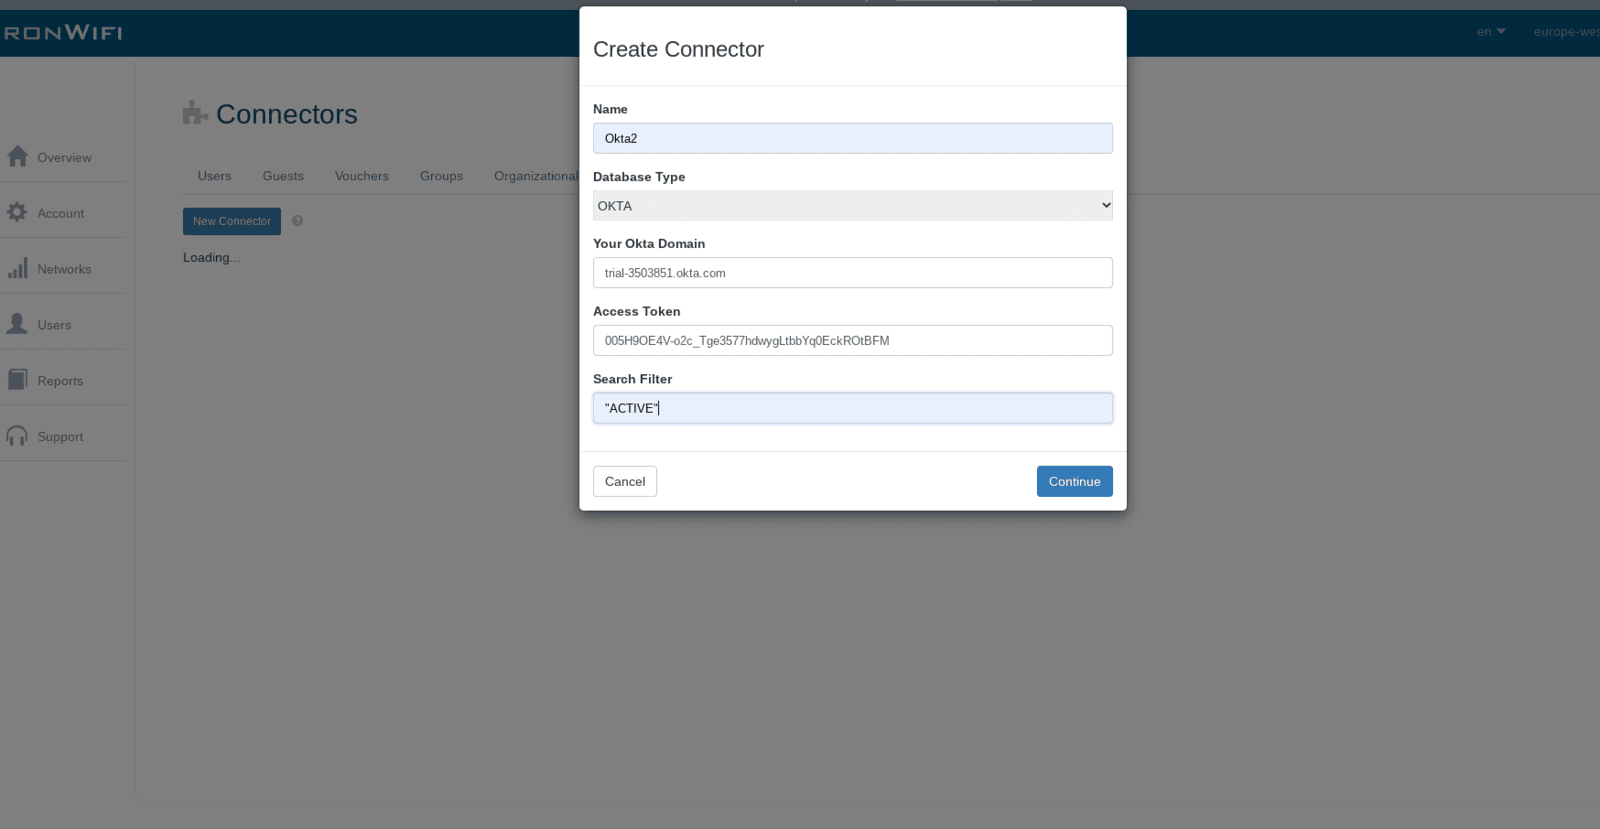
8. Click Continue > Select the group you want to import.
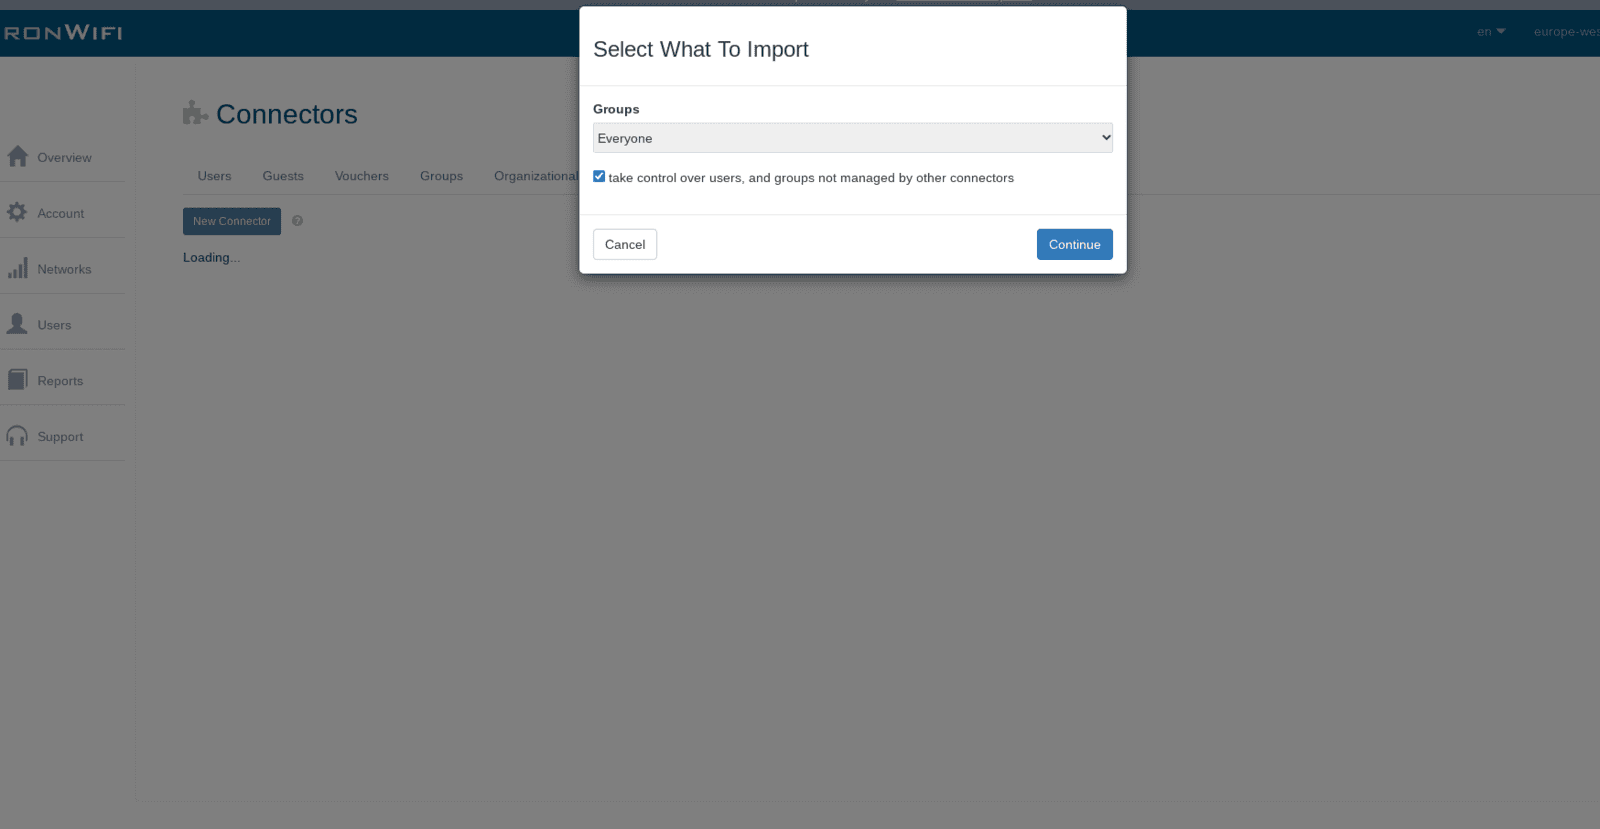
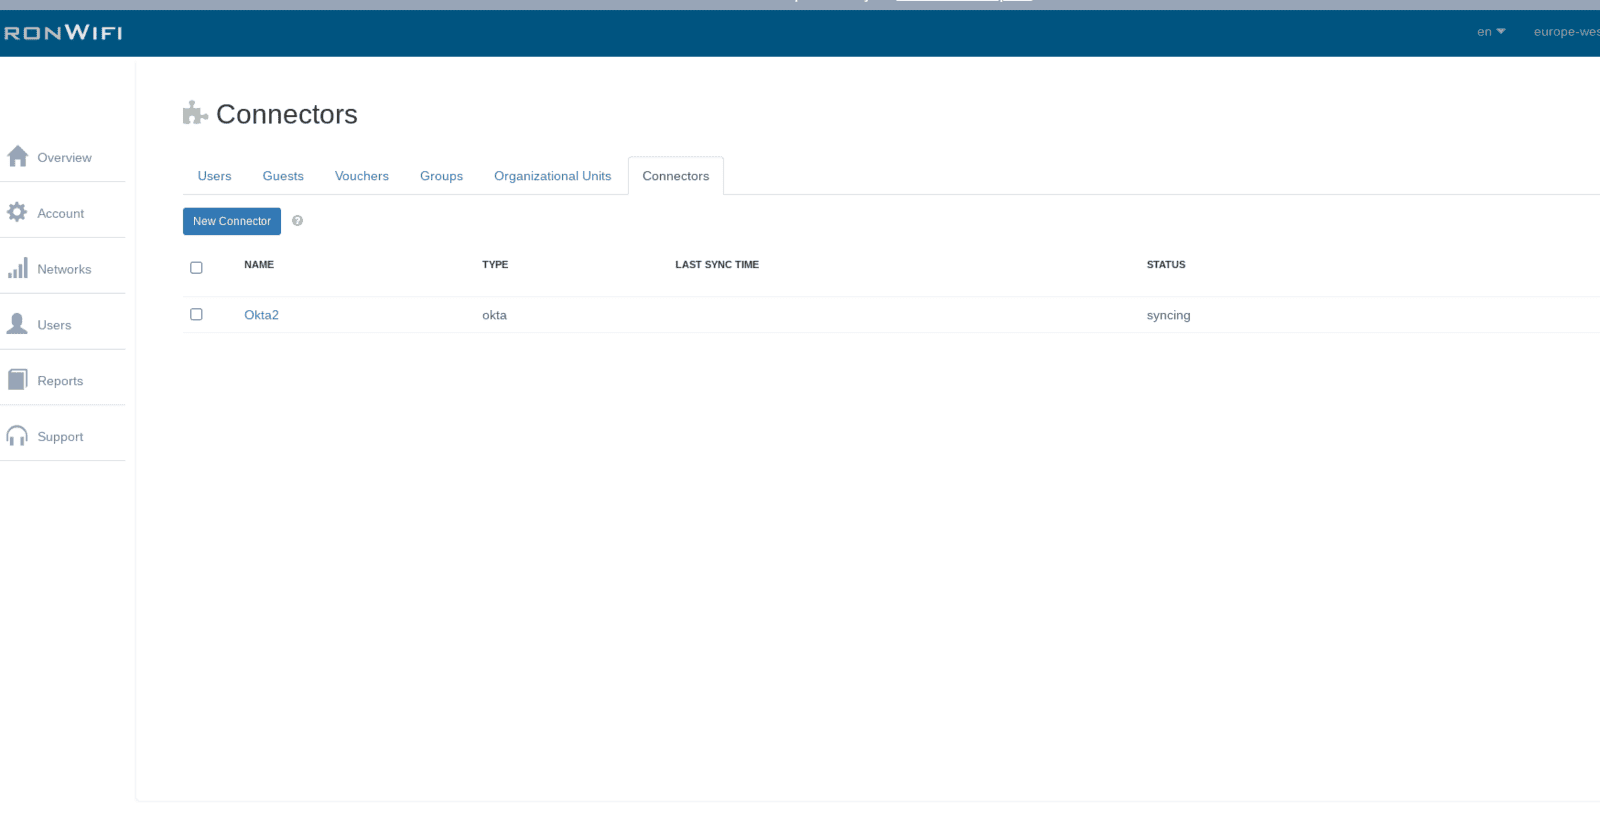
The configuration is now complete.
Related Articles
Okta
Captive Portal SAML - ironwifi.com/help/okta-saml WPA Enterprise Connector setup - ironwifi.com/help/connectorOkta (SAML)
This page explains the configuration of Okta (SAML) in conjunction with IronWiFi Captive Portal. OKTA Console Settings 1. Navigate to admin Okta console https://login.okta.com/ 2. Go to the Applications > Applications -> Browse App Catalog -> search ...Testing Azure Connector
Go to Users -> Connectors -> New Connector Select Azure AD as Database Type Enter values for Tenant Identifier (ID), Application ID and Application Secret that are provided from Azure. Select Authentication Source as "azure". Click Continue It should ...Testing Azure Connector
Go to Users -> Connectors -> New Connector Select Azure AD as Database Type Enter values for Tenant Identifier (ID), Application ID and Application Secret that are provided from Azure. Select Authentication Source as "azure". Click Continue It should ...Testing CSV Connector
Go to Users -> Connectors -> New Connector Select CSV as connector type Download the sample file and upload the same file. The connector should show “active” after some time. Go to Users, newly created users should be visible. Click on a user Verify ...