Trusted IdP With ADFS
This topic describes how to configure ADFS and IronWiFi to allow users to sign in to the Captive Portal using ADFS as the trusted identity provider (IdP).
In ADFS, navigate to Trust Relationships > Relying Party Trust, and choose Add Relying Party Trust.
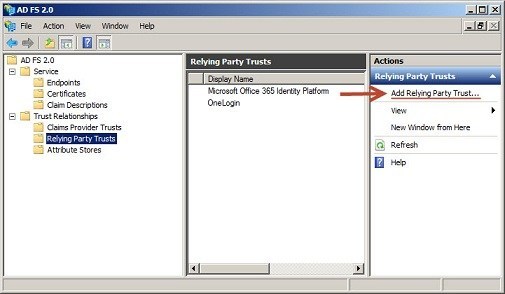
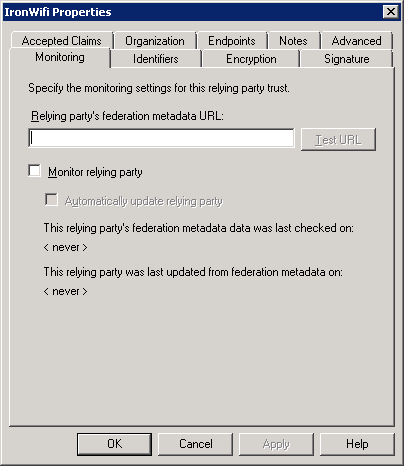
IronWiFi does not currently support federation Metadata URL, so select the radio button for “Enter the data about relying party manually” and continue.
Display name can be anything.
Select ADFS 2.0 Profile and continue.
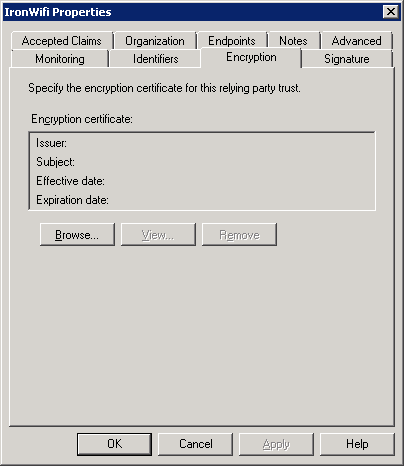
On the optional token encryption certificate configuration, skip this step (not required by IronWiFi).
Enable support for the SAML 2.0 WebSSO and add the URL: https://splash.ironwifi.com/api/signin/saml2?acs
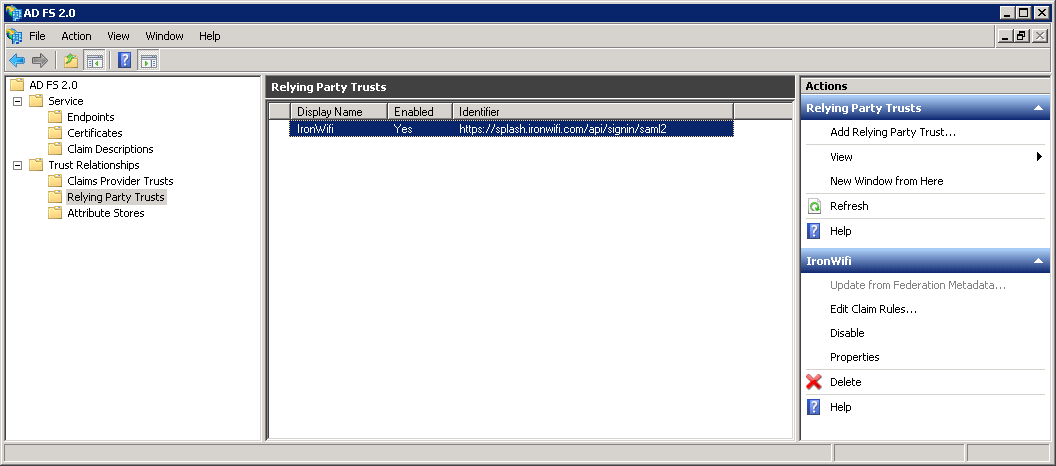
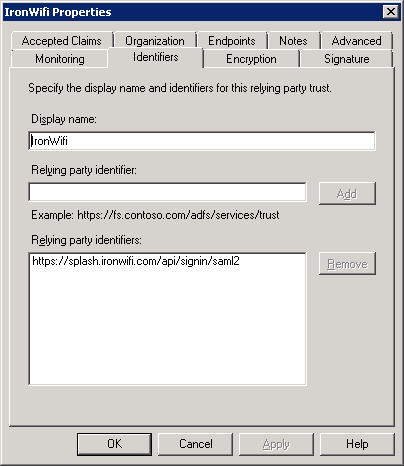
Relying party trust identifier URL is: https://splash.ironwifi.com/api/signin/saml2?acs
Permit/deny all user access based on requirements.
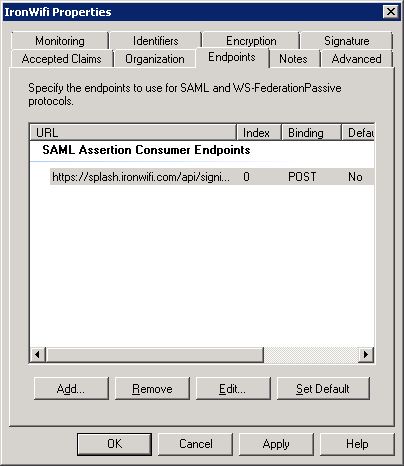
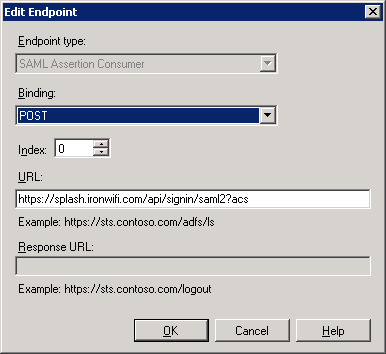
Add trust endpoint https://splash.ironwifi.com/api/signin/saml2?acs with a binding of “Post” and select finish.
Open the properties for the newly created Relying Party Trust, go to the Advanced tab, select SHA-1 for the Secure hash algorithm.
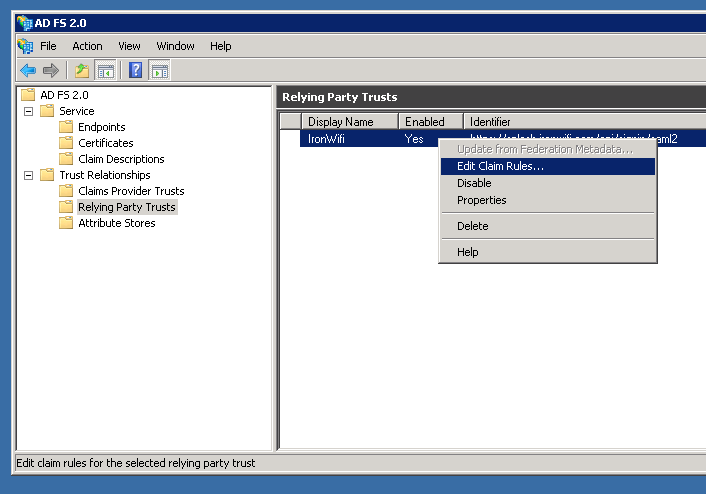
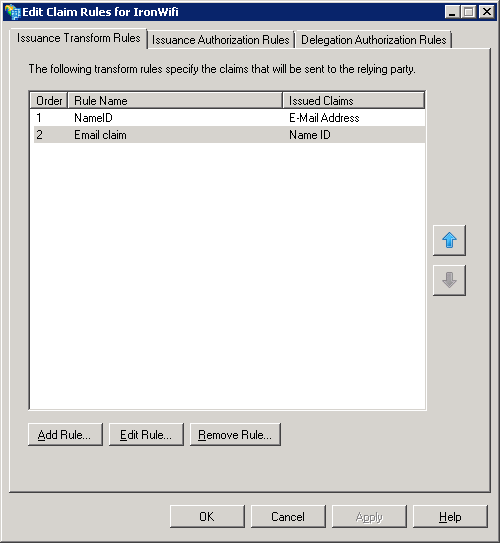
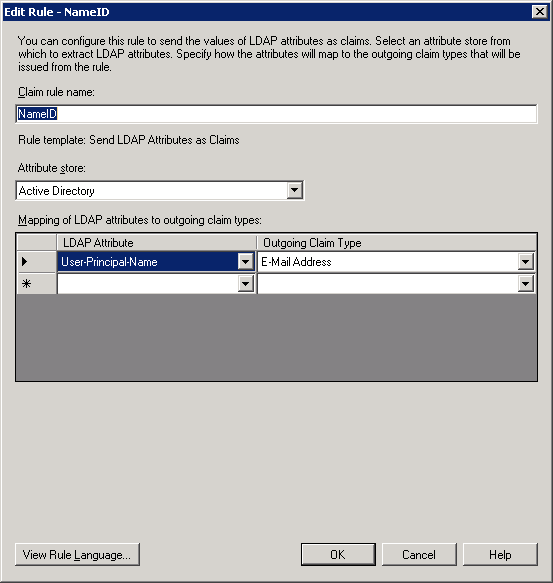
Select Edit Claim Rules, for the new trust, and add the rule “Send LDAP attributes as Claims.” Select the LDAP attribute from the Attribute store containing an email for a user. Map this to an outgoing claim type of E-Mail Address.
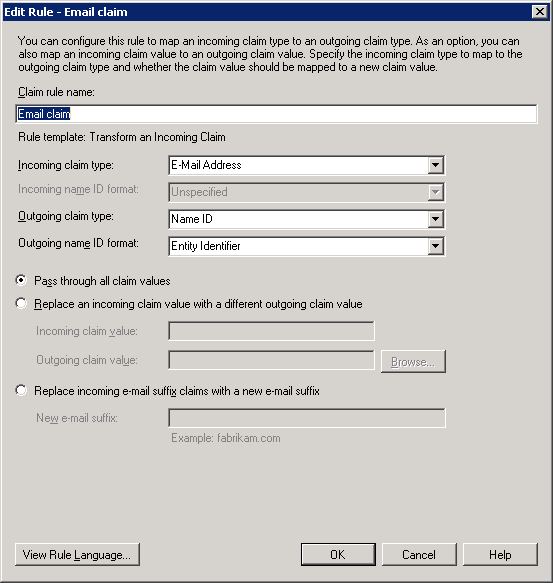
Create a second rule “Transform an incoming claim.” Configure incoming claim of E-Mail Address to Outgoing claim type Name ID (Format: Email).
You will need to export your Token-signing certificate from ADFS. In ADFS, go to Service > Certificates, open the details for the token signing certificate, go to the Details tab and select Copy to File… You will need to convert this certificate to PEM format for configuration in IronWifi Console (you might use OpenSSL win32 port)
openssl x509 -inform der -in adfs.cer -out adfs.pem
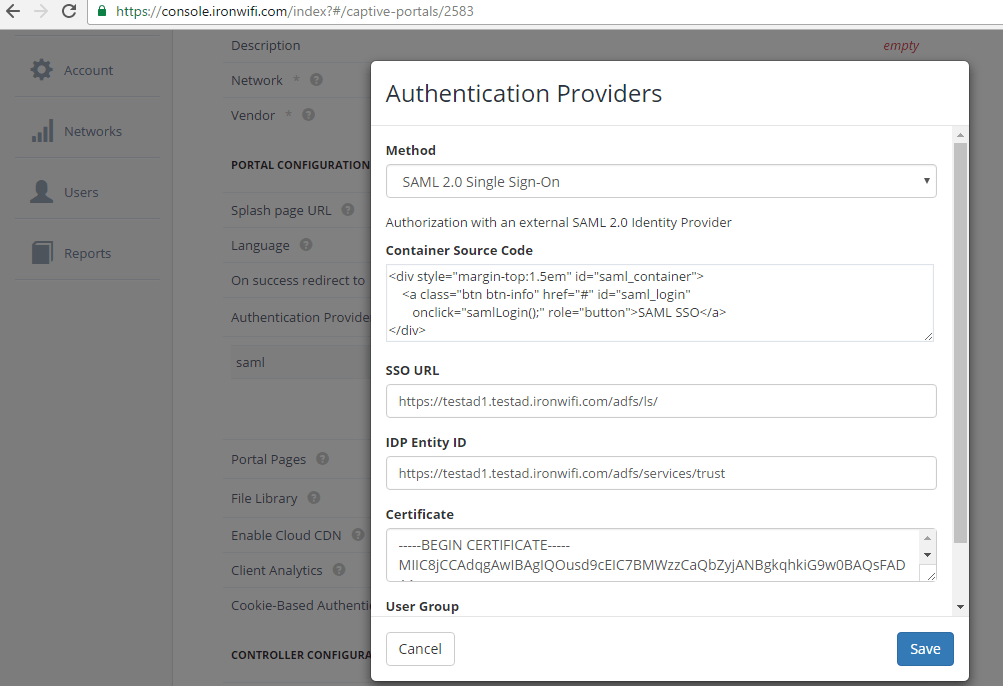
In IronWiFi Console, go to Networks -> Captive Portals > Your Portal to configure your trusted IdP settings. If you have not created an Authentication Provider for this ADFS account, click the Add New button. If you have already created the SAML Authentication Provider, click on edit and enter the URL of the ADFS Federation Service Identifier in the format http://fully_qualified_domain_name/adfs/services/trust to SSO URL. Under Certificate, enter the public key from ADFS in PEM format (include the begin and end certificate tags).
Related Articles
Trusted IdP With ADFS
This topic describes how to configure ADFS and IronWiFi to allow users to sign in to the Captive Portal using ADFS as the trusted identity provider (IdP). In ADFS, navigate to Trust Relationships > Relying Party Trust, and choose Add Relying Party ...Connectors
Connectors allow you to quickly import large list of users and keep this list in sync with external identity database. We currently support the following external database types Google Apps CSV - simply upload a csv file with the same structure as ..."Not Trusted" Server Certificate Message
This issue only relates to iOS devices / clients This is standard behaviour, when connecting to a wireless network for the first time, the client device does not know what RADIUS server will process its requests. That is why the client considers the ..."Not Trusted" Server Certificate Message
This issue only relates to iOS devices / clients This is standard behaviour, when connecting to a wireless network for the first time, the client device does not know what RADIUS server will process its requests. That is why the client considers the ...SCEP with Intune - IronWiFi PKI - User Auth
The Simple Certificate Enrollment Protocol (SCEP) is a protocol that allows devices to easily enroll for a certificate by using a URL and a shared secret to communicate with a PKI. This is a guide for setting up SCEP with IronWiFi's new multi-tiered ...