SonicWall
This page explains the configuration of SonicWall devices to work with IronWiFi Captive Portal.
Assumptions
- SonicWall Access Point is set up and running the latest firmware.
- DHCP and DNS are appropriately configured.
- IronWiFi initial setup is complete. This setup includes Network and Captive Portal settings.
- SonicWall Access Point can communicate with IronWiFi servers.
- The Guest SSID VLAN can communicate with IronWiFi servers.
- All systems are appropriately licensed.
Instructions
Sign in to SonicWall Administration Interface. Click Network, click Zones and click the WLAN edit button.
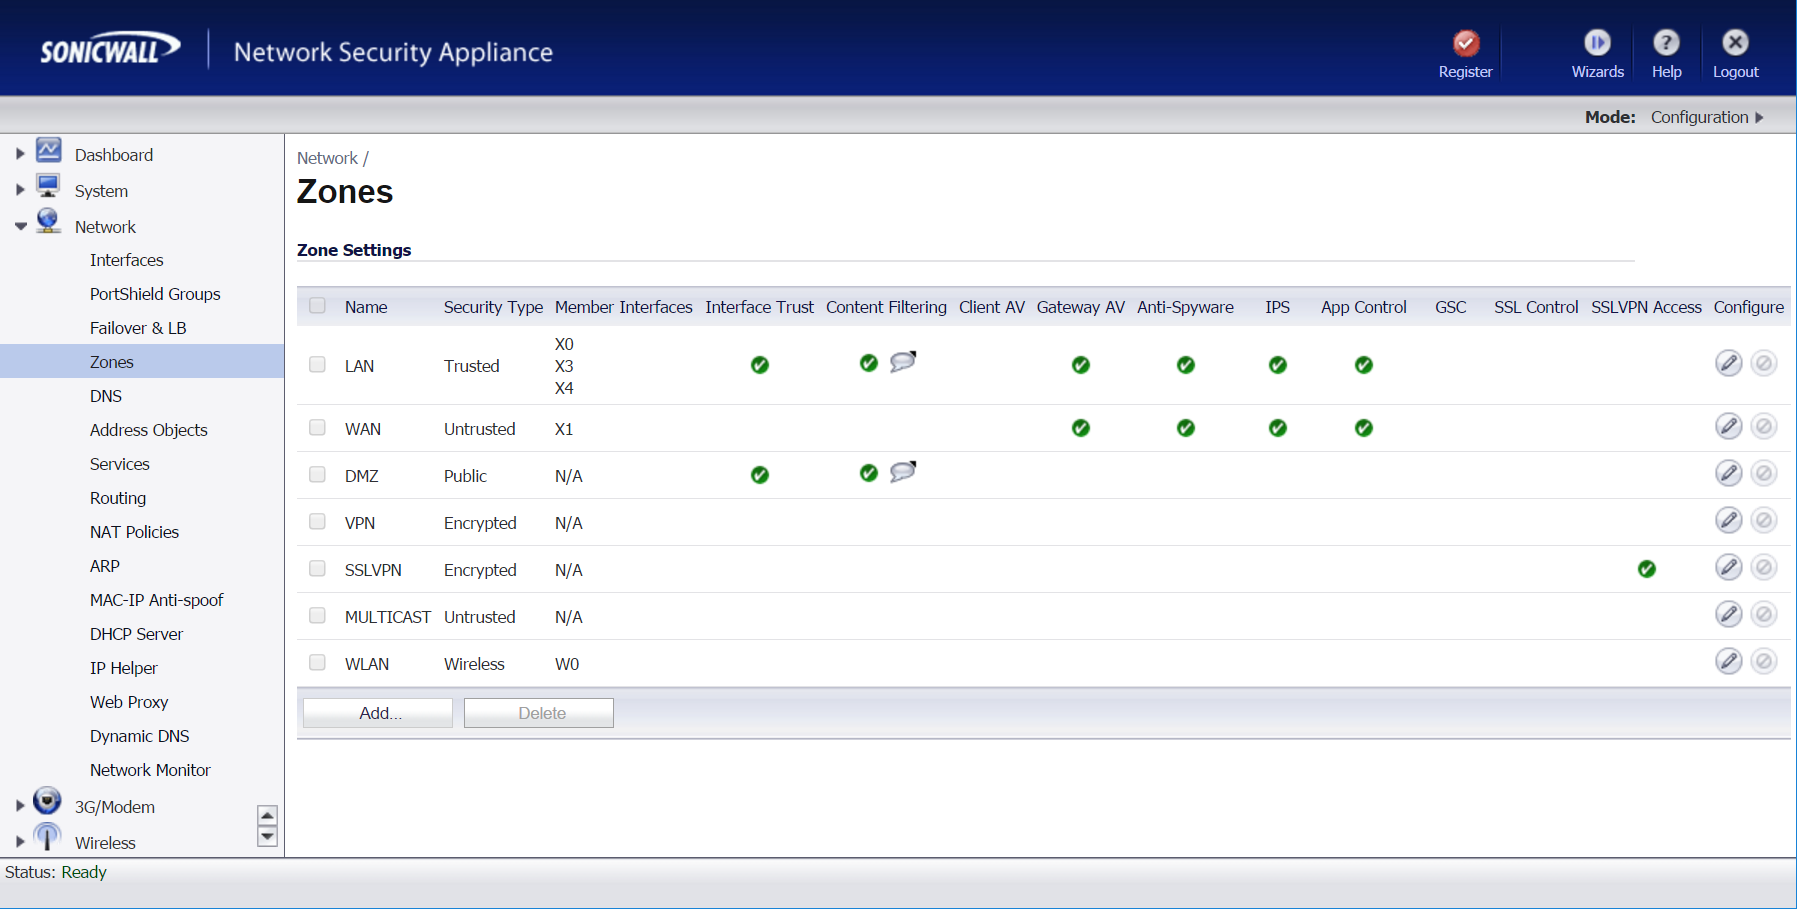
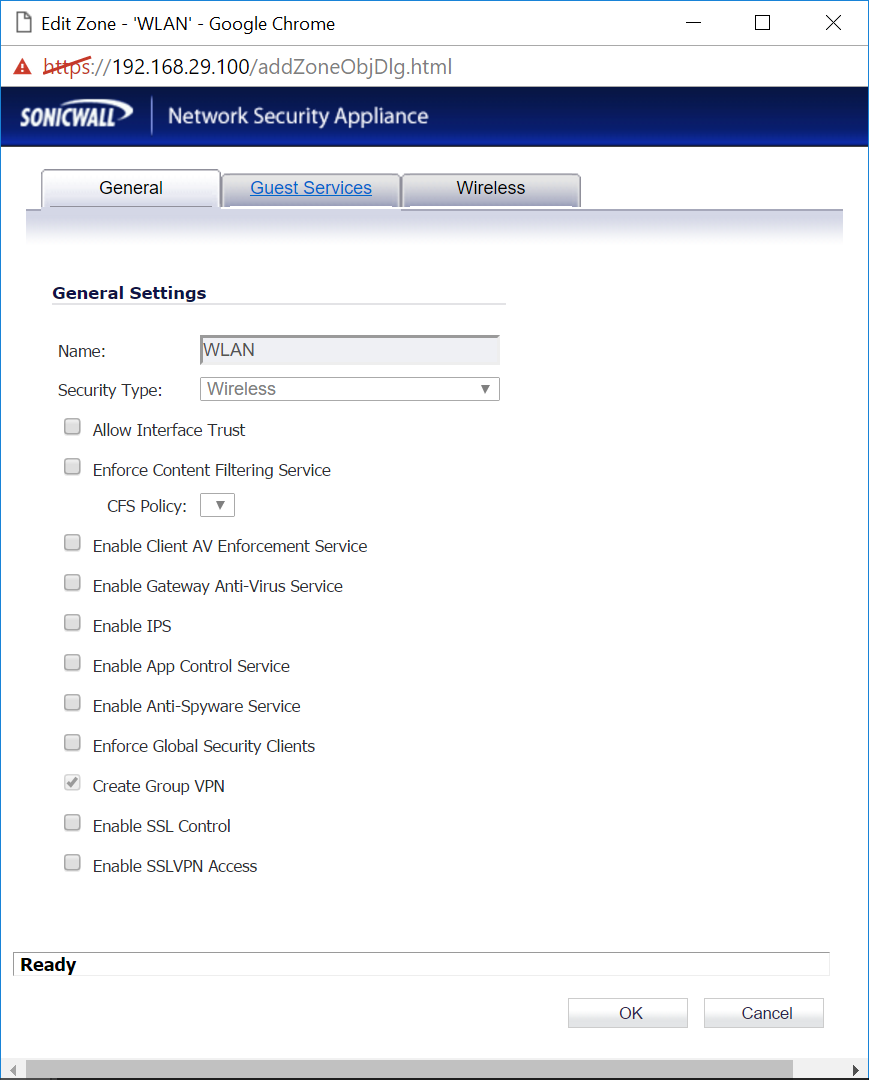
Leave the "General" options default and click Guest Services
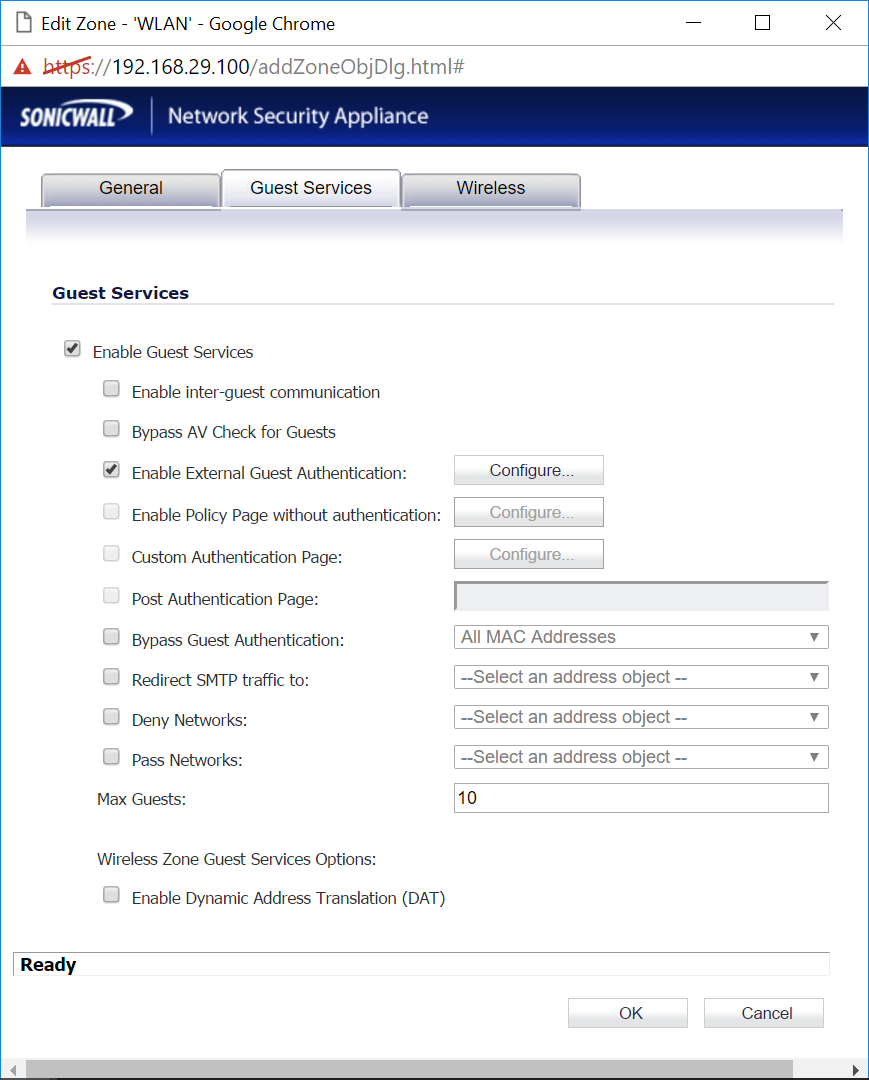
Check Enable Guest Services and check Enable External Guest Authentication. Change the Max Guests value to 255.
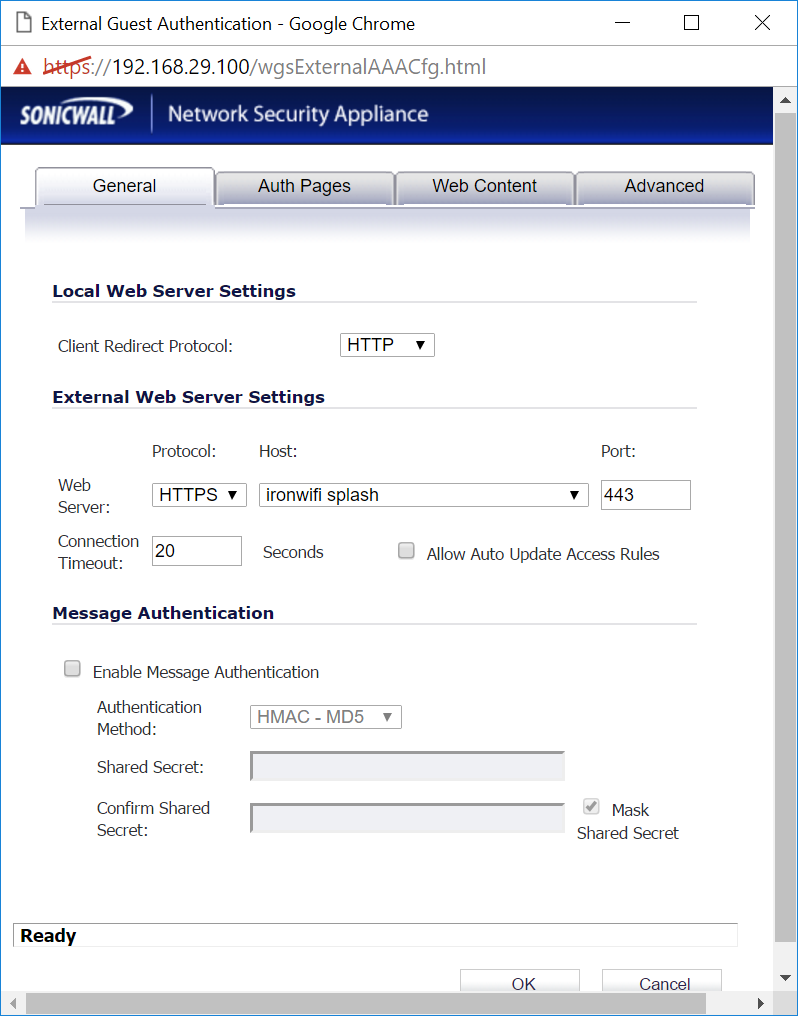
Select HTTP client Redirect Protocol.
Under "Web Server," select HTTPS protocol and create a new object for Splash page - FQDN hostname from Console - e.g., splash-static.ironwifi.com, st-us-east1.ironwifi.com, splash-static-eu.ironwifi.com, etc.., zone DMZ.
Enter 443 as the Port Number.
Select Auth Pages tab and enter "/api/pages/xxxxxx/" to all input fields. "xxxxxx" is your Splash page identifier, from Console.
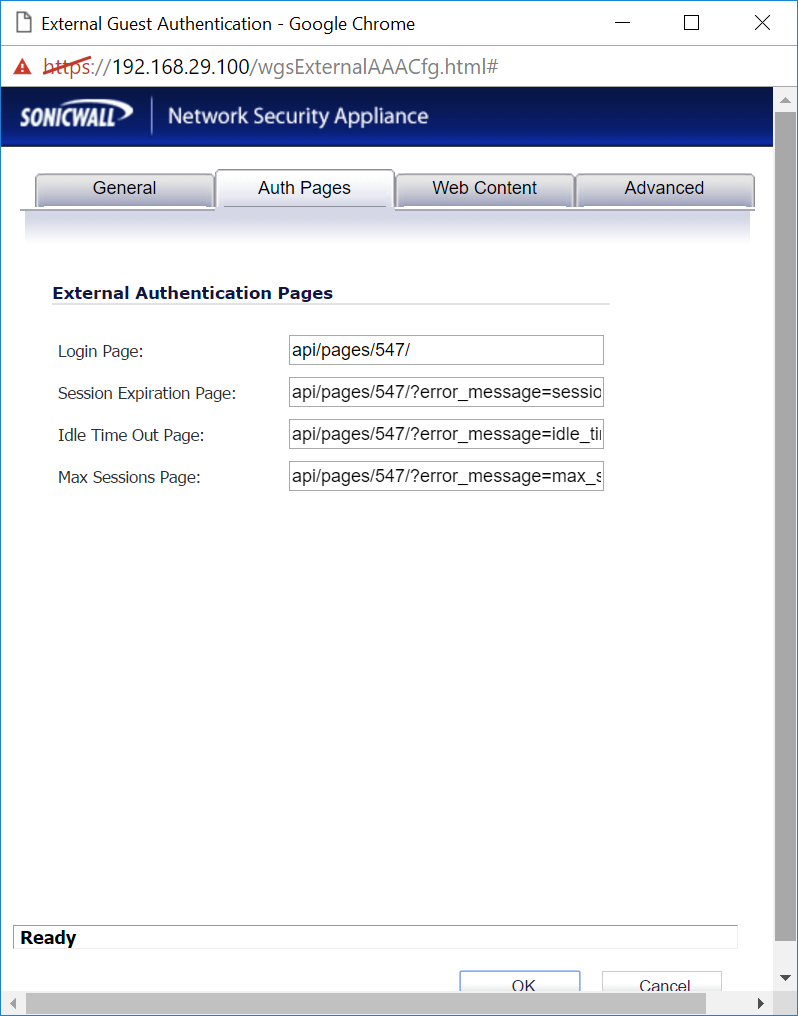
Review other settings and click OK to save Changes.
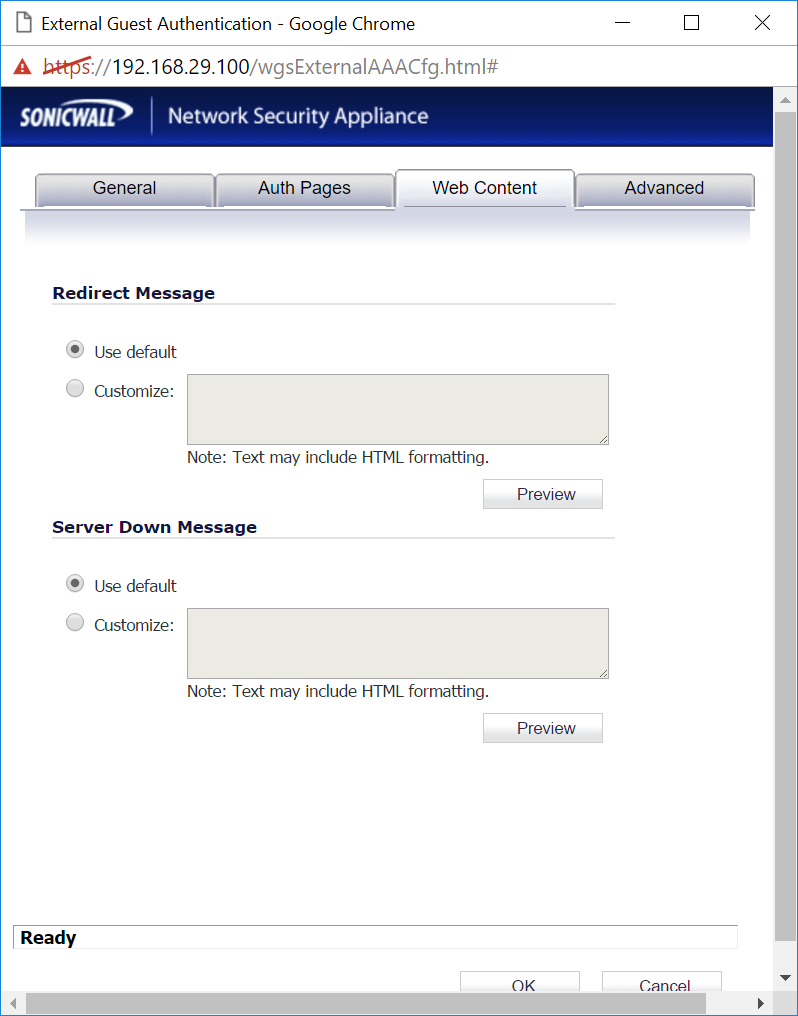
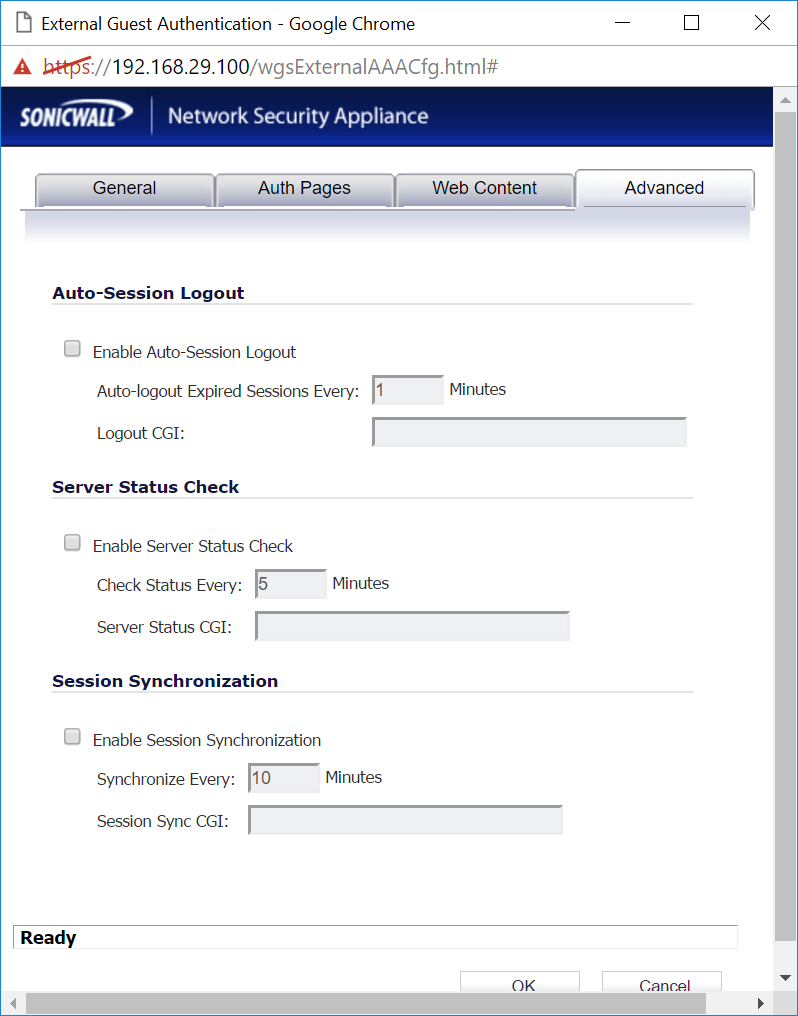
The last step is to Allow remote connections on your Firewall. IronWiFi needs to be able to connect to the SonicWall Guest Services to authorize connected clients. Guest Services are listening on port 4043 and IronWiFi will try to connect to the URL in this format:
https://SOURCE_IP_ADDRESS:4043
- SOURCE_IP_ADDRESS - IP address that we have received the authentication request from
We will be connecting directly from the web server, so no further changes are required in your SonicWall firewall rules.\
! You must also install a valid SSL certificate on your controller/AP, in order to avoid authentication issues !
Common Errors
IronWiFi needs to be able to connect to your Access Point to authorize the connecting device. If not successful, the Captive Portal will return different error codes in the error_message parameter.
- sonicwall_gw_connection_failed - our servers could not connect to your SonicWall AP. Make sure the Access Point Guest Services port is reachable over the internet, check your firewall settings and port forwarding rules if necessary. The Guest Services service is listening on port 4043/TCP by default, and you can override this value using the Controller URL parameter in the Captive Portal settings in our Console.
Related Articles
SonicWall Captive Portal
This page explains the configuration of SonicWall devices to work with IronWiFi Captive Portal and Captive Portal Authentication. Log in to your SonicWall firewall and click Manage at the top. On the left menu, click on VPN > Base Setting and ensure ...